5 years back, I had installed Windows 10 for the first time on my PC.
When I used it for the first time its user interface seemed quite like Windows 8.1 Windows 8.
That’s why I got used to it pretty soon.
Everything was going smoothly, but one day I noticed a TAD bit of LAG on my PC.
I was in disbelief as I hadn’t installed any unnecessary software on my PC to cause any LAG.
So,
Why in the hell was I getting this DISMHost service error?
Why in the hell my PC was lagging behind because of it?
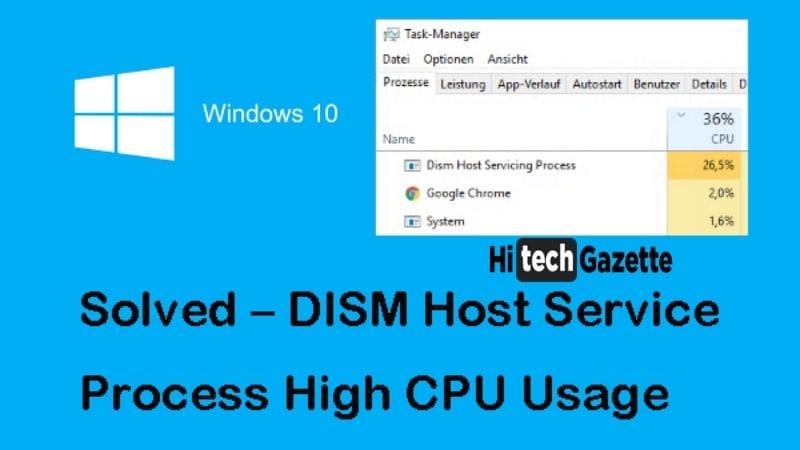
To pinpoint the exact issue, I pressed CTRL + ALT + DELETE to open the task manager.
And what I saw puzzled me?
Can you guess what I saw?
I saw DISM.EXE continuously sucking up 90 to 97 percent of my Disk and CPU resources.
And then I asked about its reason in multiple Windows 10 Support forums but still no solution for me.
It’s not a system process.
So how in the hell are you getting this High disk usage because of this process?
It’s not like your PC is doing this deliberately.
So, once again, how are you getting this error?
Or most importantly, how would you stop DISMHost.exe from running in the background and consuming all your PC resources?
Well, there are some fixes that you can apply to get rid of these unknown servicing processes altogether.
Before I share those fixes with you, I have a request – Test your internet connection and see whether the dism process consuming high bandwidth?
If it is then stop wasting any more time and start applying these necessary solutions or let the DismHost process steal your private data.
Why are you Getting DismHost Error?
Well, you can get a dism host error because of many reasons.
Their dad probably the boots with constant daily, but
It could be because of a faulty system file or third-party software that’s not installed properly.
If Dismhost.exe continues to interfere with your system then those days are pretty close when you see the BLUE SCREEN OF DEATH.
You don’t wanna see that, right?
How to Fix DISMHost.exe Error?
CHECKING MALWARE
The dism host error you are getting on your PC can be because of many things.
And to pinpoint the exact issue, the first thing you need to do is scan your PC for any possible malware.
How would you do that?
You can use specialized software like Malwarebytes, Avast antivirus
This antivirus software scans your PC for any unnecessary third-party program running in the background and hogging up all your PC resources. If it detects any issue its lets right away with timely notifications.
Then it’s up to you what you wanna do. Block it or uninstall it from your computer.
UNINSTALLING DISMHost.exe
If you are getting dism host error because of any particular program installed on your PC then.
You are left with nothing but the only choice of removing the program completely from your PC.
But do you know, how to do that?
It’s easy.
- First Press Ctrl + alt + Delete key together to open the task manager.
- Now, in between a bunch of processes running in the background, find DISM.EXE.
- Right-click on the process and select the option OPEN FILE LOCATION. This will take you to the installation folder and from there, you can easily uninstall the program from your PC.
DISABLING DISMHOST PROCESS
If you are unable to uninstall the process or program from your PC. Then the other option left for you is disabling the dism host process.
Now once again, how would you do that?
Well, you can disable the dism host process by following these simple steps:
- First press the start button and in the search bar type services
- Once the system app is opened look for a background intelligent transfer service.
- If the process is actively running then stop it right away. This will disable the process from running in the background and consuming unnecessary PC resources.
That is it. You can restart your computer to see all the changes made.
DISABLING SUPERFETCH SERVICE
Even after disabling the DismHost.exe host process, you are still getting the same error.
Then the only option you are left with is Disabling Superfetch Services.
Do you know what Superfetch Service is or what it does?
Well, the main purpose of this surface is to reduce the loading time of the system apps installed on your PC.
This would be only possible if all the System apps are updated to the latest version.
So, every time you boot your PC and connect it to the internet.
It’s highly likely that.
Superfetch Services would update the apps to the latest version. And sometimes these updates can lead to some incompatibility issues with the third-party apps and processes.
So it becomes quite important to disable this process altogether.
And to do that,
- Open the RUN dialog box by pressing the Window + R button together.
- Now, type MSC.
- Once MSC is opened, find the Superfetch Services.
- After you find Superfetch, right-click on it to select its properties.
- There you will see two options to start and stop the process. In this case, you have to press the stop button.
- Before you apply any changes you also have to disable this superfetch service from running at the time of startup of your PC. Once done apply all the changes and click OK.
- Restart your PC to see all the necessary things.
Final Words
Are you still getting dism host error?
I hope by applying these solutions you might be able to get rid of the dismhost error permanently.
However, if you are still getting it, then the only option left for you is reinstalling the Windows OS, or else, t’s best if you take your PC to an expert.
That is all for now.
If you have got any questions for me, then do let me know about them in the comment section video.