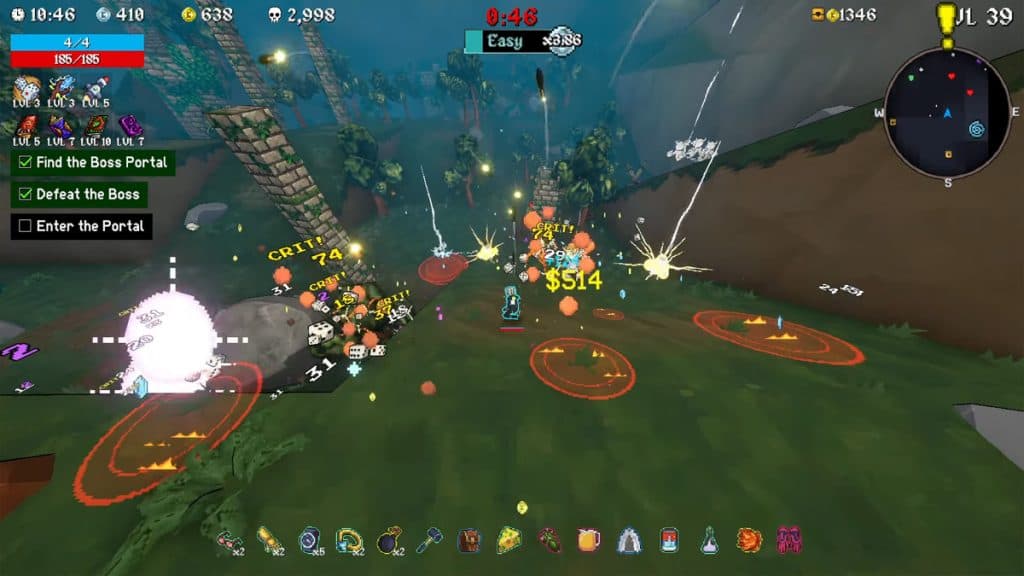
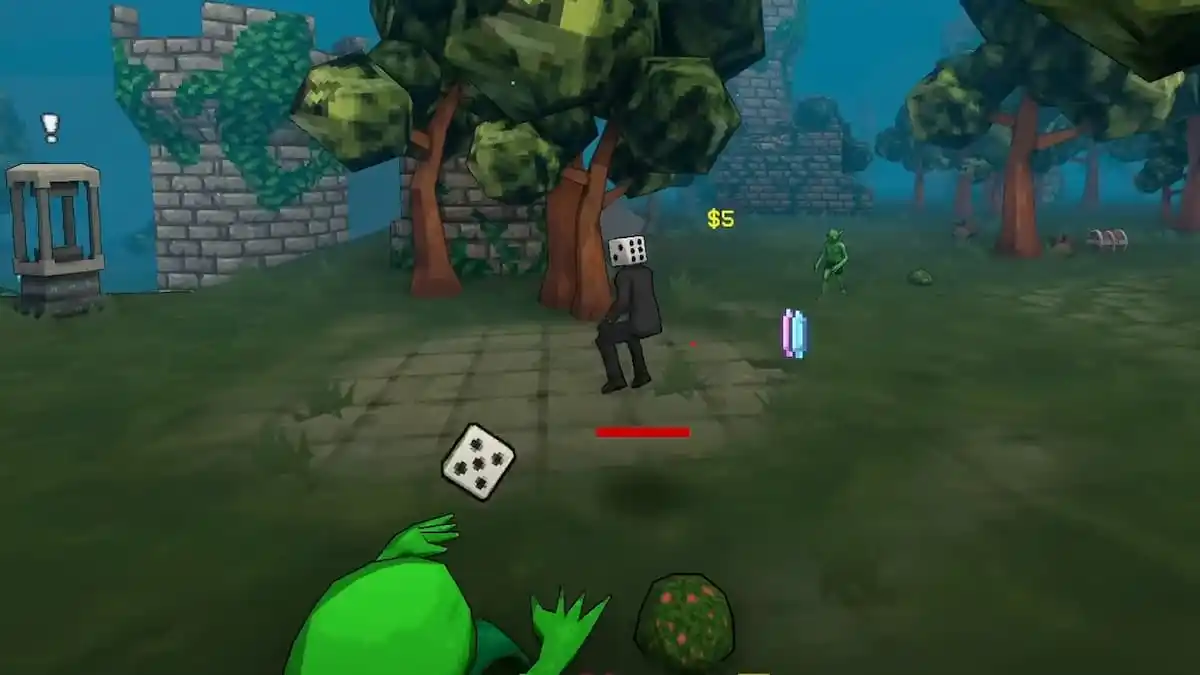
Our latest Megabonk session with Dicehead wasn’t just about building a strong character; it was a full-blown world record kill run that pushed the game to its absolute limit.
We started with a risky, gamble-heavy strategy that eventually turned into an unstoppable storm of projectiles and magic, ending with over 100,000 kills—so many that the game itself could barely handle it.
We played on the hardest difficulty with the most stages, constantly choosing greed and risk to transform Dicehead into a non-stop crit machine.
The Secret to Dicehead’s Insane Power

So, what makes Dicehead so unbelievably strong? It all comes down to two things:
His Passive: Every time he levels up, he gets a random stat boost. This means that simply gaining experience directly makes him more powerful in a way other characters can’t match.
His Weapon: His unique weapon gives him a permanent increase to his crit chance every time the dice roll a six.
When you combine these two with smart item choices and aggressive use of challenge shrines, you end up with a crit rate over 300% and magic tomes leveled up all the way to 99.
The Early Game: Taking Risks for Big Rewards
From the very first wave, we committed to a “greed first” mindset. We prioritized long-term power over immediate safety.
Our main goals at the start were:
Bonus Experience: To fuel his random stat engine and hit important power spikes faster.
Movement Speed: To dodge attacks and safely collect all the experience gems.
Projectile Count: To throw more dice at once, increasing our chances of rolling those all-important sixes.
Even our defensive choices were about scaling up. An early revival item wasn’t just a safety net; it was insurance that let us take even bigger risks later on.
Before long, we were already one-shotting basic enemies with just the weapon, showing how quickly this build starts to snowball.
Key Moments That Supercharged the Run
The run really took off when we started chaining together special “Head” events and boss challenge shrines. These events dropped powerful items, like the Demonic Soul (which can give up to 100% bonus damage) and modifiers that increased elite enemy spawns.
More elites meant more danger, but also a lot more chests.
A crucial find was the “Credit Card” effect, which made every chest give much better rewards. This turned every bit of gold into long-term power.
At the same time, we hunted down boss shrines before the seven-minute mark on each stage to fight multiple bosses at once. Beating three or more bosses at a time rained high-quality chests on us, accelerating our build way beyond a normal run.
The Core of the Build: How It All Works Together
By the mid-game, a few key pieces defined our unstoppable force:
The Dice Weapon: This was our main damage source. We focused on boosting its projectile count and crit damage, relying on its passive to build our crit chance over time.
The Aura: We used this not for damage, but as a way to safely walk through crowds of enemies to reach experience, shrines, and chests.
Shields: These provided a temporary buffer, but we learned that damage could still get through, forcing us to stay mobile even when we were incredibly powerful.
The aura and shields were just there to keep us alive and moving; the dice did all the real work, constantly feeding us more crits and more level-ups.
Why Experience is Your #1 Priority
As the run went on, gaining experience became our single most important goal. We repeatedly skipped small damage upgrades to max out our experience and luck tomes instead. Why? Because for Dicehead, every level-up is a direct power boost.
This strategy paid off hugely once “magnet” items started appearing. We would often leave big pools of experience on the ground, then grab a magnet to suck it all up at once, triggering a chain reaction of level-ups.
At its peak, the level-up notifications were constantly filling the screen, and we hit level 755 with our tomes reaching the max level of 99.
Pushing Past the Limits: Max Crit and Max Damage
Once we had a steady flow of experience, we focused on raw damage. Our crit chance soared past 100% and kept climbing, eventually going over 300%. In Megabonk, this means we were consistently landing massive “mega-crits.”
We stacked:
Crit Damage to multiply our guaranteed critical hits.
Global Damage multipliers from our maxed-out tomes.
Items that gave bonus effects when opening chests, making every chest another step toward god-like power.
The big milestone was hitting level 99 on our first major tome. From that point on, just walking near enemies would cause them to die in seconds, with bosses losing millions of health almost instantly.
Using Difficulty to Our Advantage
Instead of being scared of higher difficulty, we used it as fuel. We actively chose to:
Spawn more enemies.
Increase elite counts.
Strengthen entire waves.
In this multi-stage mode, higher difficulty stays valuable because new stages give you more space for huge hordes. More enemies mean more experience, more kills, and more chances to roll sixes on our dice.
By the final stage, the difficulty was around 696%. Enemies were spawning so fast they often died the moment they appeared on screen.
Controlling the Map Like a Pro
A big part of turning this power into a record was our control over the battlefield. High movement speed, jump height, and extra jumps let us:
Quickly dash between shrines before timers ran out.
Sweep the entire map to make sure no chest or event was missed.
Reposition during dangerous waves without stopping our experience collection.
We also used magnets strategically. Sometimes we left them on the ground on purpose, saving a huge pile of experience to vacuum up all at once for a massive power spike.
Surviving Our Mistakes
Even with all this power, the run wasn’t perfect. We made mistakes and had some bad luck that almost ended it.
At one point, we were missing a key upgrade that made certain enemies nearly impossible to kill, and we only survived thanks to a last-second aura pickup and some tricky movement.
In another tense moment, a misclick summoned bosses too early. We had to carefully avoid killing them too fast so we could keep farming the stage, all while staying alive in a dense wave.
But the build was so tough—with extra revives and insane damage—that we recovered every time, each comeback leading to an even bigger power spike.
The Final Result: A 100,000+ Kill Machine
By the final stage, our build had become a true kill factory. The kill count blew past 65,000, then 100,000. Everything came together:
A maxed-out dice weapon with tons of projectiles and crit.
Multiple level 99 tomes for experience, damage, and luck.
So many elite enemies that the screen was never empty.
We even picked up time-stop effects and other utility items that quietly pushed our crit damage even higher. Every boss wave dropped more chests, and thanks to our “Credit Card” effect, each chest opened made our already ridiculous damage even more absurd.
How You Can Build Your Own Dicehead Monster

While we got lucky with some items, this run provides a clear blueprint for your own high-kill Dicehead build. Here are the key takeaways:
Focus on Experience First: Always choose experience gain over a small, immediate damage boost. For Dicehead, experience is your main damage stat.
Rush to 100% Crit: Your top priority early on is to get your crit chance to 100% as fast as you can. Focus on projectile count and crit chance items to roll more sixes.
Embrace Difficulty: See higher difficulty and more elite spawns as a good thing. It means more enemies, more experience, and more chests, especially when you have something like the Credit Card.
Use Defense to Enable Offense: Auras and shields are there to let you move around safely. Your main investments should always be in your dice damage, crit, and your scaling tomes.
Be Smart with Magnets and the Map: Don’t collect every experience gem right away. Save them for a magnet to get a huge level-up burst. Always explore the entire map for shrines and events before moving on.


