Armor management is key in Delta Force, and understanding how repairs really work can mean the difference between life and death—while also saving you a ton of in-game cash.
The problem?
Most of the in-game info on armor repairs is unclear or just plain wrong. That’s why I spent hours testing repair kits in private matches to bring you the most accurate breakdown possible.
In this guide, we’ll cover:
Which armor repairs the best
Which stats actually matter
The pros and cons of different repair kits (from low to top tier)
Debunking myths about repairing in your stash vs. in the field
The most cost-effective armor choices (red, gold, purple, and blue tiers)
Whether you’re new or just fine-tuning your strategy, this guide will break down the confusing repair system so you can stay battle-ready.
Let’s dive in.
Understanding Armor Stats
When you check armor (like vests or helmets) in the auction menu, you’ll see several stats. Here’s what they actually mean:
- Durability:This stats goes down as the armor gets hurt in fights. Fixing the armor brings durability back up, but you lose some max durability each time you fix it. As you fix it more, the armor gets less and less useful until you can’t use it anymore.
- Non-Repair-Based Stats:
These include effects like:- Armor effect (impact on movement speed and ADS speed).
- Hearing effect (positive or negative effects on auditory perception).
- Protected part, which specifies the parts of your body the armor defends (e.g., chest, abdomen, shoulders).
Key Repair Stats: Efficiency vs. Cost
There are two main stats related to repair mechanics: Repair Efficiency and Durability Cost. Let’s understand what they mean:
1. Repair Efficiency:
This stats decides how much of the repair kit is used up when you fix a piece of armor. It’s rated as low, medium, or high.
Why High Repair Efficiency Matters:
High repair efficiency means less of the repair kit is used when fixing, so it’s cheaper in the long run.
Armor with medium or low repair efficiency might use 70% to 100% of a repair kit for one fix, depending on the vest or helmet.
Testing Results:
The Havoc 2 vest, Elite vest, Warrior vest, and Standard Issue vest (all blue level or higher with high repair efficiency) use about 53-60% of a repair kit.
Medium-rated items like the FS Composite vest or Gold Heavy Assault vest use more than 75% and sometimes almost the whole kit.
Financial Implications:
For example, fixing an Elite vest (high efficiency) with a gold repair kit costs a lot less than fixing an FS Composite vest (medium efficiency). With an Elite vest, you can almost get two full fixes from one kit, saving hundreds of thousands of credits.
2. Durability Cost:
This stats decides how much max durability is lost when fixing. In easier words, this stats shows how fast armor breaks down over time. While a “low” rating is better, this stat turns out to be less important than repair efficiency.
Durability Cost Ratings Don’t Always Make Sense:
Testing reveals significant inconsistencies in how much durability is lost. For example:
- The Purple Assault vest (medium durability cost) loses 18% maximum durability during repairs.
- FS Composite vest and Marksman Tac vest (also medium durability cost) lose less than 9%—half the amount despite sharing the same rating.
- Havoc 2 and Elite vests are rated “high” durability cost but lose durability similar to or slightly less than some “medium” options (14%, 12%, and 10%, respectively).
Our Takeaway:
Durability cost does change how long armor lasts, but the ratings in the game don’t always give you good info to judge if it’s worth the money. Instead, focus mostly on repair efficiency numbers.
Best Vests for Each Tier
When choosing armor, several factors should be considered, including durability, stats that affect movement and aim, protected areas, and cost-effectiveness of repairs. Here are the best armor options for each tier:
1. Red Tier: Titan Vest
- Durability: The Titan vest boasts the highest max durability among red vests.
- Downsides: Heavy penalties to movement speed (8%) and ADS speed (12%).
- Repair Stats:
- Uses only 75% of a red repair kit to fully repair.
- Loses just 9% maximum durability during repairs (drops from 150 to 136 durability).
- In-Game Repair Tip: If you’re okay with running around in a broken Titan vest, repair it later in your stash—you’ll save significant money compared to repairing it mid-match.
2. Gold Tier: Elite Vest
- Durability: High durability with minimal movement penalties.
- Pros:
- Protects your abdomen (important for survival).
- Repair efficiency is fantastic—it uses just 70 out of 120 durability on a gold repair kit, making it cheaper to repair than an FS Composite vest of the same tier.
- Cons: Loses 12% maximum durability during repairs (from 95 down to 83.6 durability).
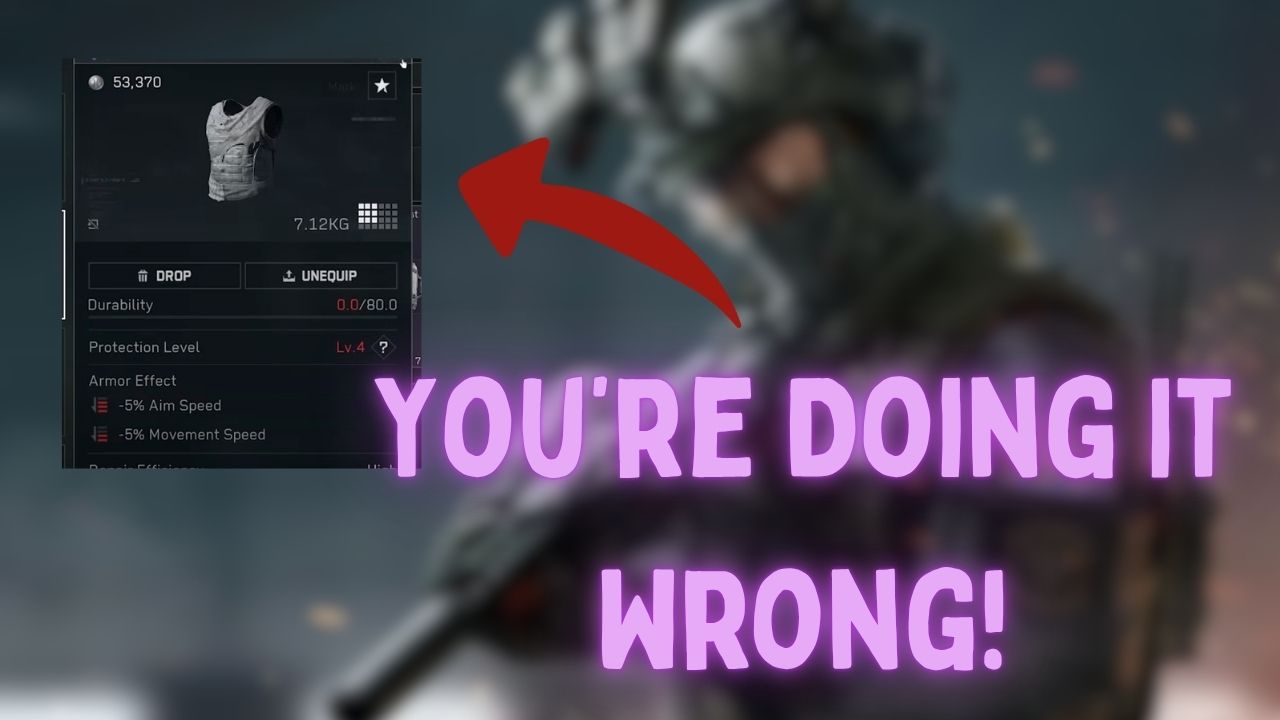
3. Purple Tier: Warrior Vest
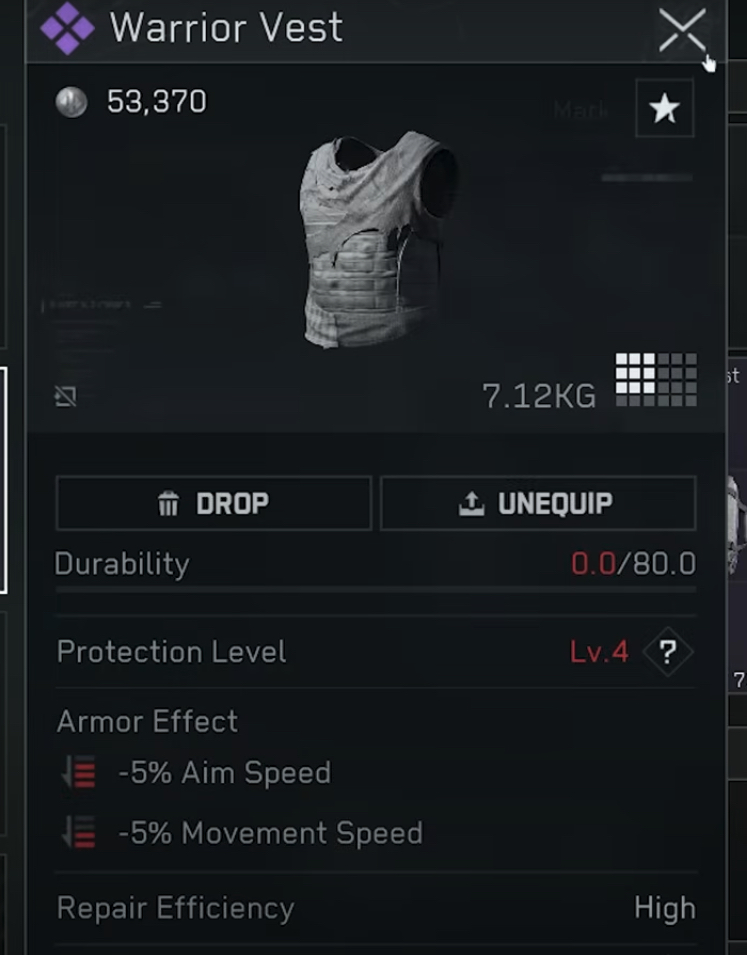
- Durability: Warrior vest loses only 6% maximum durability per repair.
- Cost Efficiency: Uses only 40 out of 75 durability on a purple repair kit, costing around 45k per repair (excellent value).
- Downside: Does not protect the abdomen, which can leave you vulnerable.
Helmet Repair Mechanics
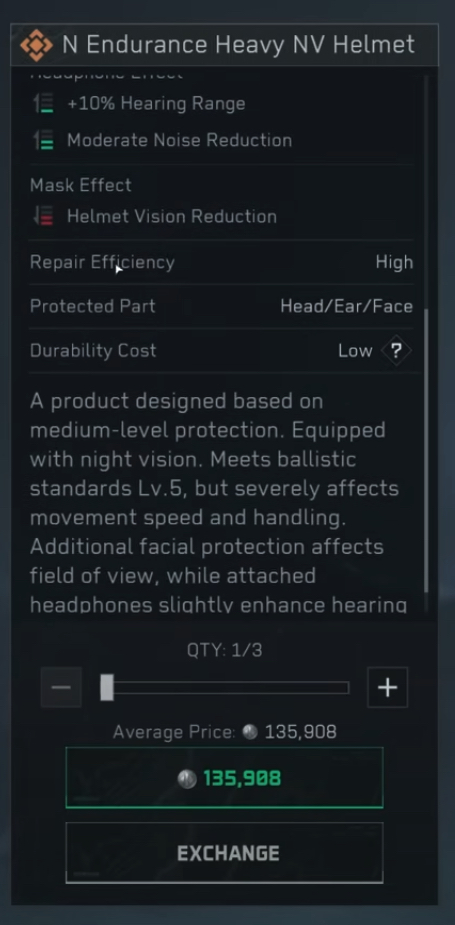
Helmets are less affected by repair efficiency/cost and more by personal preference (hearing benefits vs. vision obstruction). Testing across gold and purple helmets shows the following:
- All helmets (aside from the HO9) consume most of a repair kit during one repair.
- Durability loss ranges between 7% and 16%.
Choose helmets based on your specific gameplay needs—for example, whether better sound awareness or unobstructed vision is more important for your playstyle.
Using Repair Kits: Higher vs. Lower Tier
1. Higher Tier Repair Kits:
Using repair kits of a higher tier than the armor (e.g., red repair on a gold vest) does not improve durability cost—it results in similar maximum durability loss as using a same-tier kit. However:
- It consumes less durability of the repair kit itself.
- Example: A red repair kit uses only 46 durability (out of 200) to repair an Elite vest from zero.
Cons:
- Higher-tier kits are much more expensive (600k+ for red kits).
- You risk losing valuable repair kits if defeated during matches.
2. Lower Tier Repair Kits:
Using lower-tier repair kits on higher-tier armor is a poor trade-off:
- It uses up the entire repair kit while repairing only a small fraction of armor durability (e.g., repairing a Titan vest using a gold kit restores just 31 durability).
- Stash repairs afterward compound durability loss, making this strategy expensive and unsustainable.
While it’s a possible solution in emergencies, avoid relying on lower-tier kits for higher-tier armor.
Stash vs. In-Game Repairs
Stash Repairs:
- Repairing armor in the stash costs less money compared to in-game repairs.
- Provides no unique benefits regarding maximum durability loss.
- Upgrade Tip: Unlocking intermediate repairs requires upgrading your Black Site firing range to level 2. Consider this a worthwhile investment for saving money on repair costs over time.
In-Game Repairs:
- More expensive overall.
- Practical for quickly restoring armor while mid-match, ensuring you can survive longer.
Operator Toxic’s Passive Ability
Operator Toxic’s passive ability cuts down repair and heal times by 30%. But, it doesn’t change repair efficiency or durability cost—it only saves time, letting you fix things faster in high-pressure situations.
Final Thoughts & Recommendations
At first, armor repair in Delta Force Operations might seem tricky, but knowing the details can give you a big advantage in battle and save a lot of in-game resources. Key points:
- High Repair Efficiency, not Durability Cost, should drive your armor decisions.
- Avoid using lower-tier kits on higher-tier armor unless absolutely necessary.
- Stash repairs are a great way to save money, particularly for expensive red-tier vests like the Titan vest.
- Finally, pick armor and helmets that match your personal playstyle—whether that’s prioritizing broad protection, enhancing movement speed, or reducing repair costs.
By getting good at these mechanics, you’ll have an edge over other players and make sure you spend your credits wisely.