

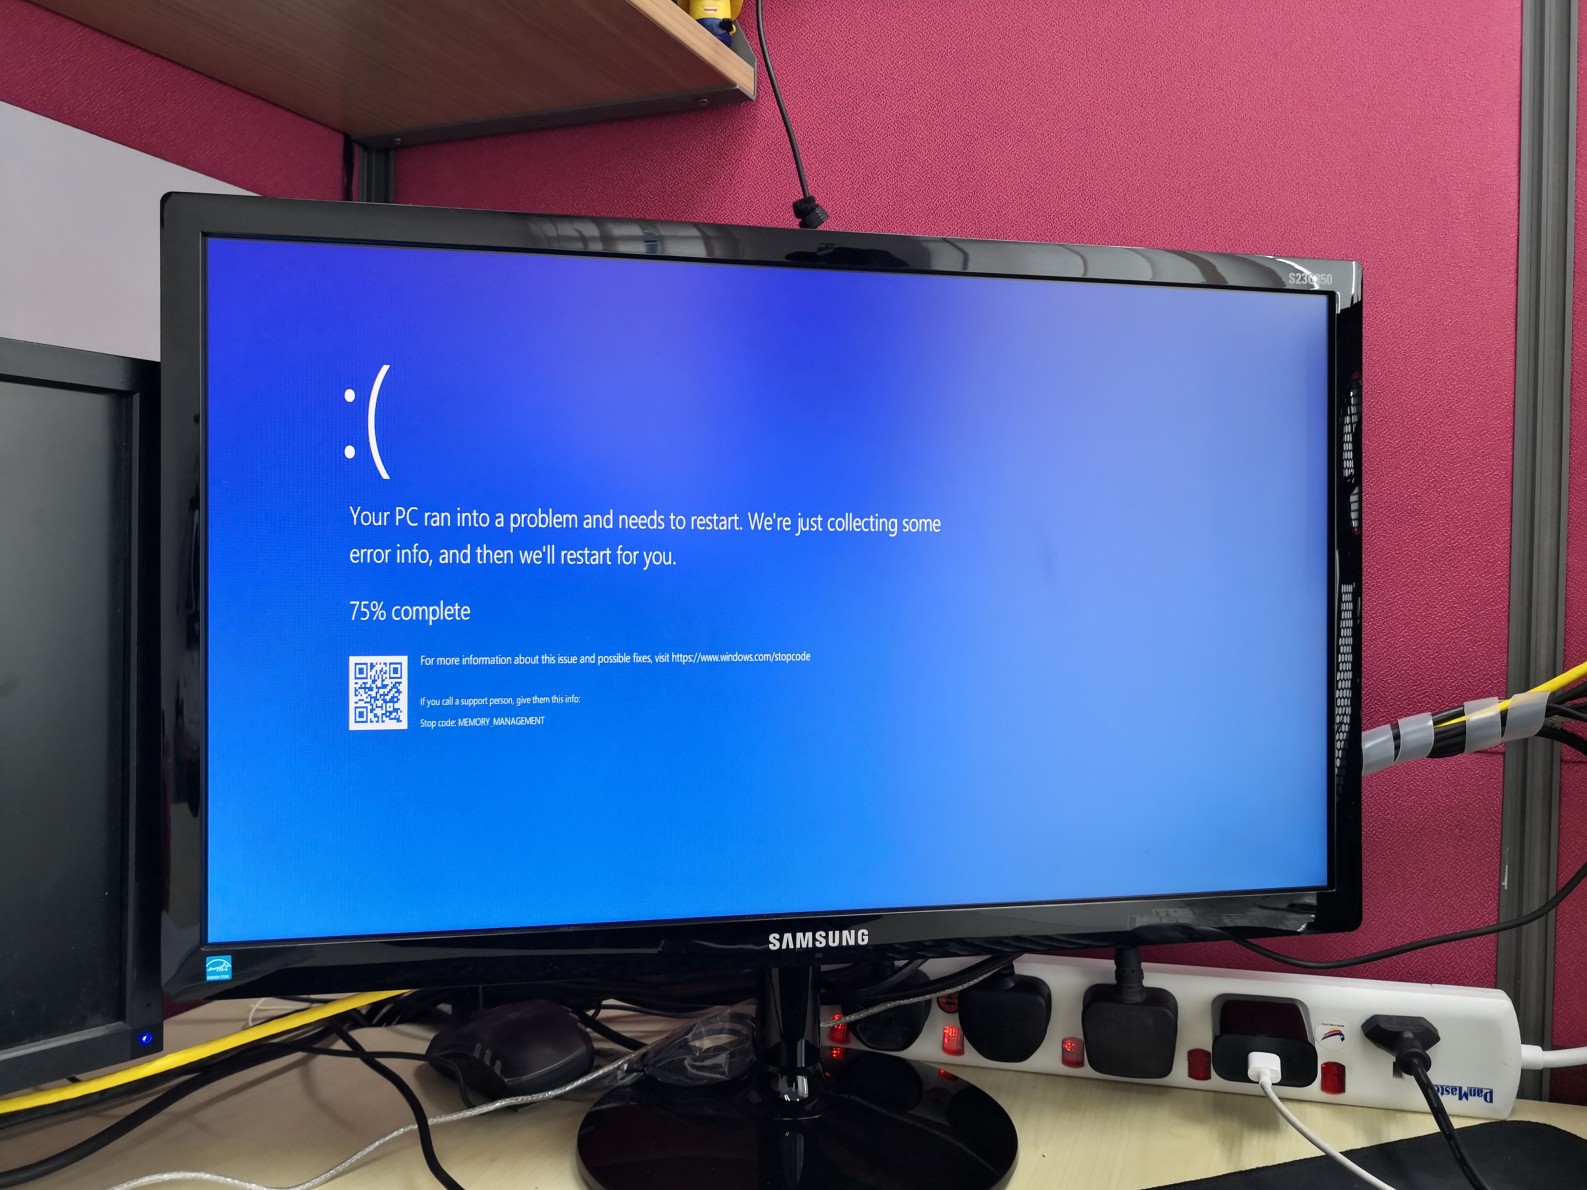
Have you ever encountered the infamous Blue Screen of Death (BSOD) on your Windows computer?
You’re working on an important project or browsing the internet when your screen suddenly turns blue, and your computer crashes. You’re left with no choice but to restart and hope you didn’t lose your data.
What if I tell you there’s a way to efficiently diagnose and solve these frustrating BSOD errors without requiring any technical expertise?
So, all you have to do is follow all the steps in this article to begin downloading and then downloading the BlueScreenView file from your PC.
Let’s get started –

What is Bluescreenview?
BlueScreenView is a lightweight, user-friendly software developed by NirSoft. It is designed to scan and interpret mini-dump files created when a computer experiences a ‘Blue Screen of Death’ (BSOD) crash.
The BSOD crash is a common issue with Windows operating systems, occurring when the system stops due to a severe error. When this happens, Windows creates a mini-dump (.dmp) file that contains crucial information about the system state at the time of the crash. Understanding these files, however, requires specialized knowledge.
BlueScreenView steps into this critical gap. It is designed to automatically scan these mini-dump files after a BSOD crash, presenting the information in an easy-to-understand tabular format. This versatile program thus allows even non-technical users to begin troubleshooting the problem.
Main Features of BlueScreenView
The main features of BlueScreenView are:
- Minidump Analysis: BlueScreenView is designed to automatically scan and display information from the minidump files created after a BSOD crash.
- Easy Access to Crash Details: The software lists the filename of the minidump, the date/time of the crash, the basic crash information displayed in the blue screen (Bug Check Code and four parameters), and also provides detailed information about the driver or module that might have caused the crash (filename, product name, file description, and file version).
- User-friendly Interface: The information from the minidump files is presented in an easy-to-understand tabular format, making it accessible even for non-technical users.
- Displays Original Blue Screen: BlueScreenView also allows users to view the same blue screen that Windows displayed during the BSOD crash.
Where to Download BlueScreenView?
Sure, here’s how to download BlueScreenView:
- First, go to the BlueScreenView download page on the NirSoft website.
- You can download the application by clicking on either of the download links at the bottom of the page. The two different links are for two different versions: 32-bit operating systems and 64-bit operating systems.
- Once you’ve clicked on the relevant link for your system, a prompt will appear asking if you want to open or save the file.
- Choose the option to save the file, and select a suitable location on your computer where the file will be saved.
- After the download, you can access the downloaded file in your chosen location.
Direct downloads of BlueScreenView can also be found from online sources like BleepingComputer, Softonic, or LO4. Just ensure that your selected source is trustworthy before proceeding with your download.
Note – BlueScreenView is a portable application, so you don’t need to go through a traditional installation process after downloading. Instead, you can run the application directly from the downloaded file.
How to Install and Run BlueScreenView?
BlueScreenView doesn’t require a traditional installation process. It can be run directly from the downloaded .exe file as a portable application. Here’s how to use it after you’ve downloaded the application:
1. Extract the Downloaded File
After downloading, you’ll have a .zip file. You need to extract it before you can use the application.
- On Windows: Right-click the downloaded .zip file, then select Extract All… from the context menu. Select the destination folder where you want the contents to be extracted to and click Extract.
2. Run .exe File
Navigate to the folder where you extracted the .zip contents. Find the BlueScreenView.exe file and double-click it to run the application.
3. Using BlueScreenView
Upon running, BlueScreenView will automatically scan your system for MiniDump files and display the information about all crashes in one table.
For each crash, the minidump filename, the date/time of the crash, the basic crash information, and the details of the driver or module that possibly caused the crash will be displayed.
Given all this information, you can now assess what might have caused your computer’s Blue Screen of Death.
Tips and Tricks for Using BlueScreenView
BlueScreenView can be straightforward to use, but here are some tips and tricks that you might find handy while using it:
1. Analyze Each Column of the Lower Pane
When you click on a specific crash in the upper pane, BlueScreenView displays the details of all drivers or modules loaded into memory during the crash in the lower pane. Analyze each column for information, including the likely cause of the crash.
2. Interpret Bug Check Strings and Codes
BlueScreenView displays the ‘Bug Check String’ and ‘Bug Check Code.’ These fields contain helpful information about the type of error that caused the BSOD. Refer to Microsoft’s official BSOD error code list to better understand and interpret them.
3. Notice the Highlights
BlueScreenView uses highlighting to show which file was likely responsible for the crash. It might highlight more than one driver or .dll file in pink—typically, the file with the driver highlighted in darker pink/red is the one that caused the crash.
4. Google the Suspect Files
Don’t recognize a file or driver name? Google it! Oftentimes, you’ll find plenty of information about what it does and how it might be related to your problem.
5. Check Out the ‘Caused By Address’ Column
This column can help you trace the cause of the issue. Note the problematic address and Google it; you’ll often find forum posts or articles from others who’ve dealt with the same problem.
6. Take Your Time
Don’t rush the process. It may take a little while to sift through the data and make sense of it. Be patient and deliberate.
Conclusion
In short, effective use of BlueScreenView can save time and resources otherwise spent on professional help or extensive trial-and-error fixing methods. Remember, every blue screen has a reason, and BlueScreenView is here to help.


