If you’re playing Hades 2 and trying to figure out which keepsakes to use, you get it—it’s a tough choice. Jaws Paul just went through every single one, sorting them by how helpful they are in different parts of the game. He isn’t just slapping a grade on them; he’s explaining exactly when and why each one matters.
We’ve turned his breakdown into a handy, spoiler-light guide. Whether you like to wing it with Fate’s Whim or stick to a specific god’s path, this will help you plan stronger runs.
How Keepsakes Work?
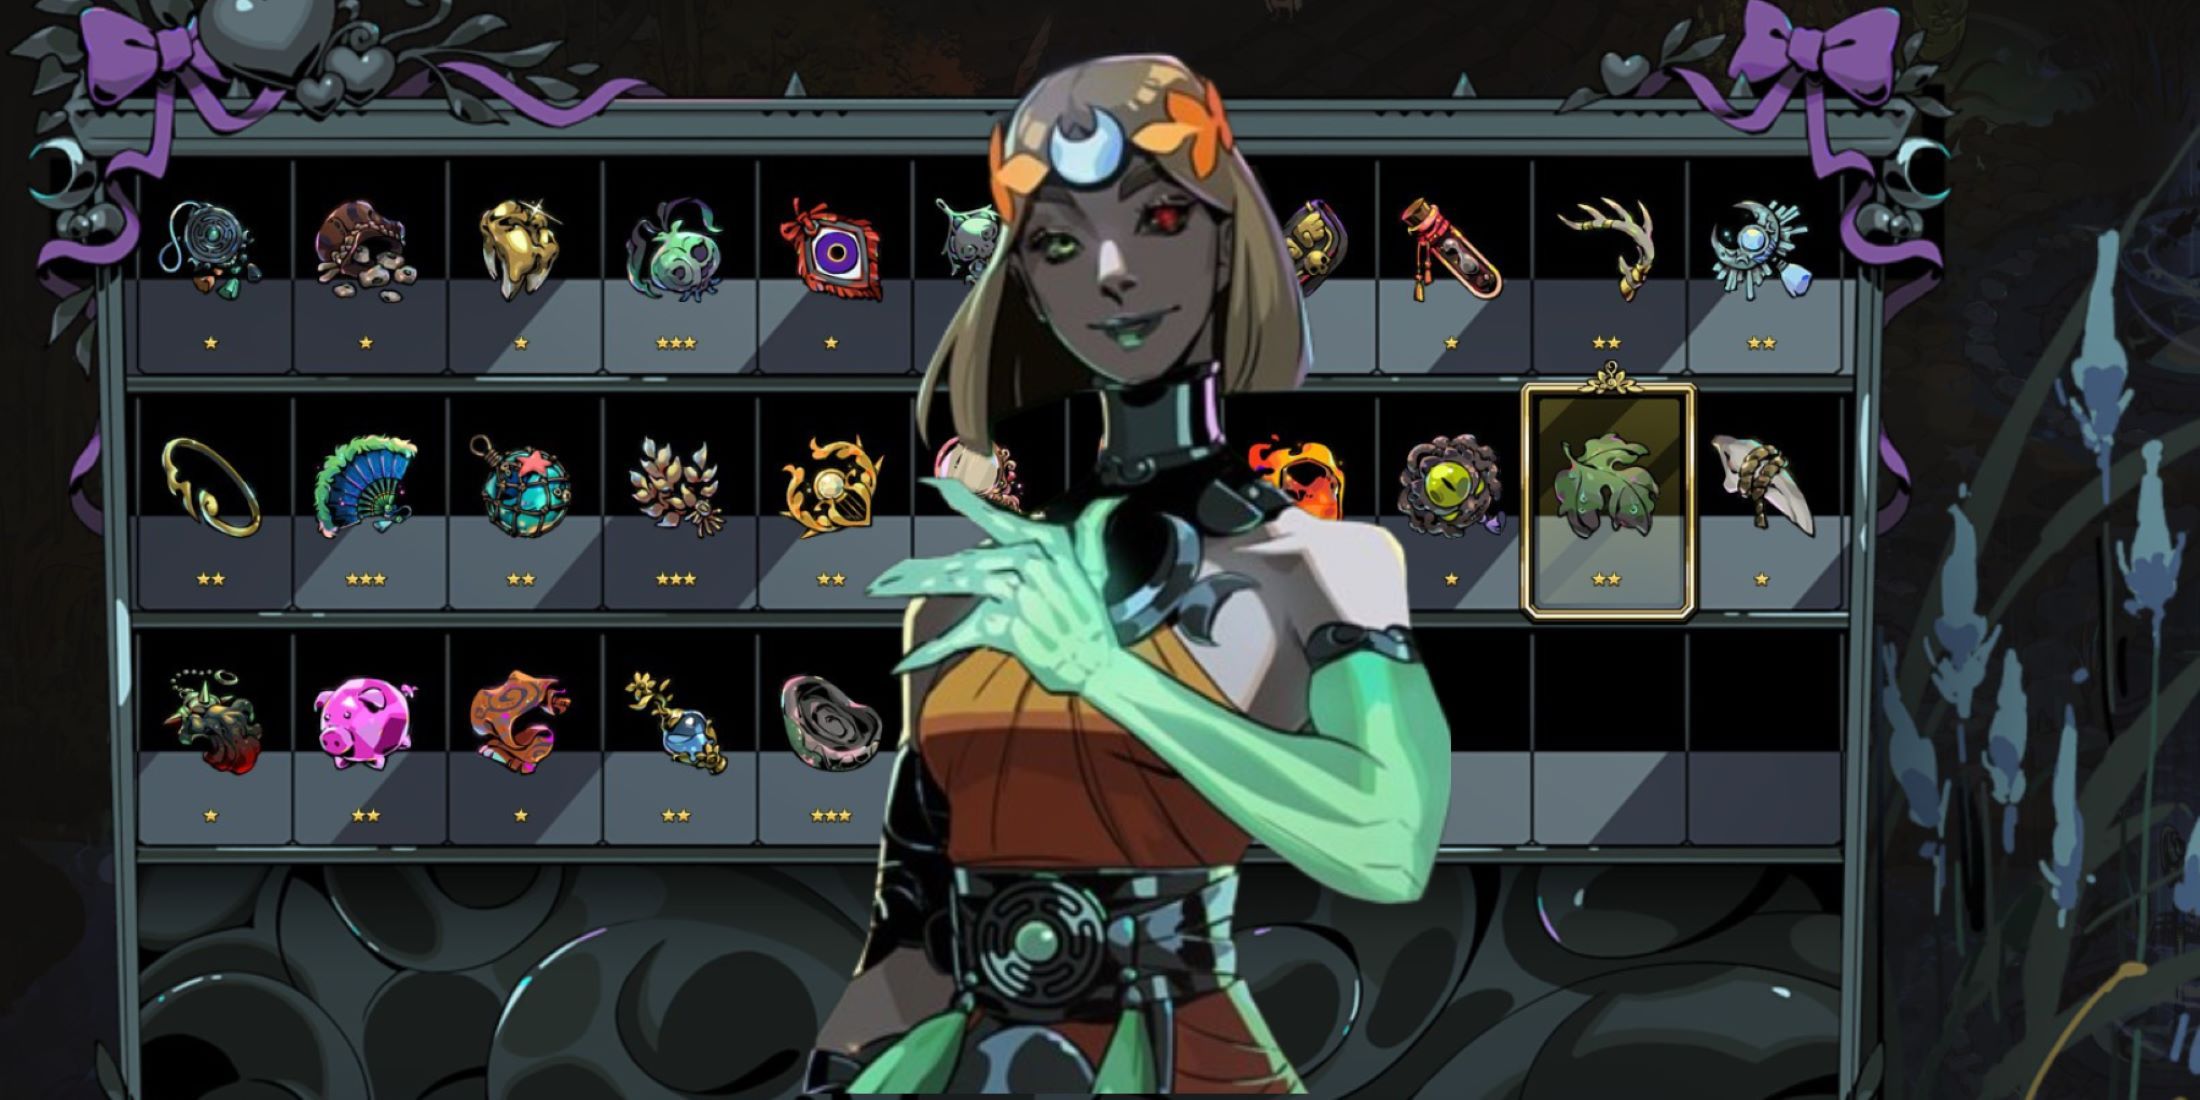
Keepsakes are special gifts from characters you befriend. Each one gives you a constant bonus—things like extra boons, health back, more damage, or other effects that change how you play.
But here’s the catch: you can only bring four keepsakes on a full run, and you switch them between areas. That makes every choice a big trade-off. Picking one means leaving another behind. To get the best results, you’ll want to match your keepsakes to what each stage of your run throws at you.
Act One: Starting Strong
Your early-game goal is to build a solid foundation and get some momentum going. Here are the best options:
1. Jeweled Palm
A late-unlock keepsake that gives +4 free upgrade levels to any boon that can be improved. It even hands you one powerful Hades-themed boon right away, making your start much stronger. It only works in Fate’s Whim runs (where you can’t choose your gods), but it turns that randomness into real power.
2. God Keepsakes — Zeus, Hestia, Hera, Aphrodite, Demeter, Hephaestus, Poseidon, Ares, and Apollo.
Each one guarantees its god shows up early and lets you upgrade one of their boons per run. For the first area, Zeus and Hestia are the top picks—they both give great early damage that works well together.
Hera deals heavy shared damage with her Curse Hitch.
Aphrodite gives big damage boosts based on how close you are.
Demeter’s Freeze helps control crowds and survive.
Poseidon is your go-to if you want more gold or resources, thanks to his knockback and doubling effects.
Ares adds huge (but sometimes unpredictable) burst damage.
Apollo helps with defense by making enemies Dazed.
These also set you up for powerful duo boon combinations later on.
Act Two to Three: Building Stability or Tweaks
Mid‑game acts are where your build matures — you either lock in synergies or adapt to new room challenges.
1. Calling Card
Perfect for Fate’s Whim runs. It lets you upgrade any boon you find, even ones that are normally locked, like Artemis or Athena. Pair it with the Jeweled Palm, and the second area becomes where your power spikes the most.
2. Dionysus’s Keepsake
Completes one encounter per biome for you (up to three), giving you the rewards instantly. It’s a huge time-saver in the middle or later areas when runs start to feel long. Think of it as a free room clear each act—great for farming or risky high-difficulty attempts.
3. Daedalus Hammer Keepsake
A must‑pick in mid‑game if you want more weapon flexibility. It gives you an extra hammer upgrade for 20 encounters, often carrying straight through Act Four. It’s one of the strongest pure damage value items you can equip.
4. Transcendent Embryo (Chaos Keepsake)
Adds randomized Chaos boons that rotate every eight encounters — and the bonuses persist even after you swap it out. It’s great in longer acts to layer in unpredictable, high‑impact mutations.
5. Athena
Solid defensive safety net if you’ve lost all Death Defiances. Guarantees her appearance for access to Deflect boons or stubborn defiance-style buffs.
6. Selene
Ensures you’ll see your Hex blessing if RNG hasn’t offered it yet, letting you unlock endgame Hex trees faster. It also increases how much essence you can devote to your chosen hex.
7. Charon’s Obol and the Coin Purse
These gold‑generating relics shine only when you need to buy out shops or wells. The regular coin purse is accessible throughout, while the variant restricted to Fate’s Whim runs yields the biggest payout for those builds.
Together, these midtier relics emphasize flexibility — perfect for adapting your boons to the RNG gods.
Act Four: Surviving the Final Stretch
Late‑game keepsakes focus on survival and boss control rather than damage ramp-up.
1. Knucklebones
Arguably the best final-area keepsake overall. It cuts boss health by 15% and reduces damage you take by 10% for the entire biome. It’s both offensive and defensive, making it the top pick for “Strength” runs (where you trade Death Defiances for more damage).
2. Skelly’s Tooth
A safety net that gives you one extra Death Defiance—you revive with 100 health. It’s perfect for newer players or “Death” arcana builds. More experienced players often swap it out for something more aggressive, but it’s always a reliable backup.
Your choice here comes down to style: go Knucklebones for aggressive “Strength” builds, and Skelly’s Tooth for defensive, safety-focused runs.
Amazing When You Need Them
These keepsakes aren’t usually part of the main plan, but they can save a run in a tight spot:
Aromatic Phial (from Narcissus)
Upgrades one normal boon to Heroic if you equip it before drinking a fountain. Use it when a key boon for your build rolled a low rarity—swap it in early in the next area for an instant boost.
Silver Wheel (from Hecate)
Permanently gives you +100 mana when equipped. It’s perfect for mana-heavy builds or for spamming your Omega moves in longer areas.
Silken Sash (from Arachne)
Enhances armor: +30 base and +4 per surviving encounter. Works best with Hephaestus’s armor‑scaling boons or while wearing Arachne’s dress.
Evil Eye
Increases damage dealt to the enemy that last defeated you. Excellent for repeat boss attempts or when you’re stuck on a specific fight.
Black Fleece
Gives a massive Omega‑damage boost after taking substantial damage, effectively rewarding risk‑takers or charged‑move builds (e.g. Supai).
Ghost Onion
Restores health after each encounter — particularly valuable when you can’t rely on fountains due to the Vow of Scars, though otherwise less efficient than gold farming for healing items.
These keepsakes embody “emergency equipment”: swap them in to patch a run’s weak spot or if you’re struggling with something specific.
Borderline or Niche Picks
1. Lion’s Tooth
Gives a strong early‑biome damage buff that decays after every encounter. Effective only when clearing early fights matters more than bosses — a rare scenario.
2. Hermes’s Silver Droplet
Grants five minutes of boosted movement and attack speed. Excellent for speedrunners chasing time goals, but irrelevant for casual runs.
3. Crystal Figurine
Awards two random Epic‑tier Arcana at the end of a biome’s boss fight, but they’re uncontrollable — which can conflict with specific builds (e.g. Strength runs suddenly flipping into Death). High‑variance, minimal payoff.
4. Moros’s Engraved Pin
Saves you from death by granting 10 more seconds to clear a room at zero HP — strong in high‑Fear difficulty, but otherwise excessive since normal runs rarely need it.
Each of these may shine in roguelike challenges, but they’re inefficient for everyday use.
The “Just No” Tier — Fun but Impractical
At the very bottom, some keepsakes sound flashy but lose the opportunity cost war outright.
Double Boon Trinket
Grants a chance at an extra random boon once, but you don’t get to choose which — too inconsistent to justify a slot.
Discordant Bell
Increases your damage and damage taken simultaneously. The effect scales with every encounter even after removal, which is interesting, but the added fragility makes it unattractive unless you’re optimizing high‑risk, ultra‑fast runs.
These keepsakes exist for experimentation, but rarely fit strategic play.
Strength vs. Death Builds
This choice changes everything. The “Strength” Arcana gives you more damage as long as you have no Death Defiance charges. The “Death” Arcana gives you more extra lives, but you lose that damage bonus.
The current meta favors Strength builds—leaning into high damage and damage resistance instead of safety nets. However, on the highest difficulty settings, Death builds become more appealing because mistakes cost more.
Your keepsake choice changes with your build:
Strength builds love Knucklebones, Jeweled Palm, Calling Card, and Zeus/Hestia combos.
Death builds get more value from Athena, Skelly’s Tooth, and survival tools like Ghost Onion or Evil Eye, especially when you’re learning the final boss.
Why Opportunity Cost Defines Keepsake Choice
The ranking isn’t just about stats—it’s about trade-offs. You only get four keepsake slots for your entire run. That means every single choice has a cost: picking one thing means saying no to another.
For example:
Choosing Dionysus’s keepsake gives you a free room clear, but you lose a damage or defense bonus you might need later.
Equipping the Silver Wheel locks in mana growth, but you miss out on early-game power from a god keepsake.
The better you understand what your build is missing at each stage, the more you’ll use keepsakes as precise tools instead of just nice-to-haves.
Key Takeaways
Plan per act, not per run: Keepsake value resets between biomes.
Respect opportunity cost: You only get four — make them count.
Lean Strength for confidence, Death for safety.
Late‑game relics like Knucklebones outperform generalists.
Random keepsakes shine in Fate’s Whim runs for those embracing chaos.
As we conclude, I would like to put it as keepsakes are “a huge decision with huge opportunity cost.” Choose wisely, experiment freely, and most importantly — enjoy the grind.