Are you looking to promote your personal or business event but don’t know how? In this post, I’ll explain the complete Geofilter creation process with images, and steps to track their performance on Snapchat.
What are GeoFilters?
GeoFilters are location-based overlays for Snapchat that allow you to add a fun graphical element to your photos or videos.
These filters are specific to a particular geographical location and are available only when the user is within the designated area.
The best part about Geofilters is that you can use them for personal or business purposes, such as celebrating an event or promoting a brand.
There are two types of GeoFilters: Community Geofilters and Sponsored Geofilters. Community Geofilters are free and are designed for public places like cities, neighborhoods, universities, or parks. Sponsored Geofilters, on the other hand, are paid filters created by businesses or organizations for marketing or branding purposes.
How to Use a GeoFilter in Snapchat?
To use a GeoFilter, you must first enable filters in your Snapchat settings and give the app permission to access your location.
Once you have captured a photo or video, you can swipe left to find and select the available GeoFilter for your area.
Step-by-step Process for Creating a Snapchat Geofilter
Here’s how you can create a Snapchat Geofilter –
- Open Your Web Browser: Enter snapchat.com/create into your browser’s search bar and proceed.
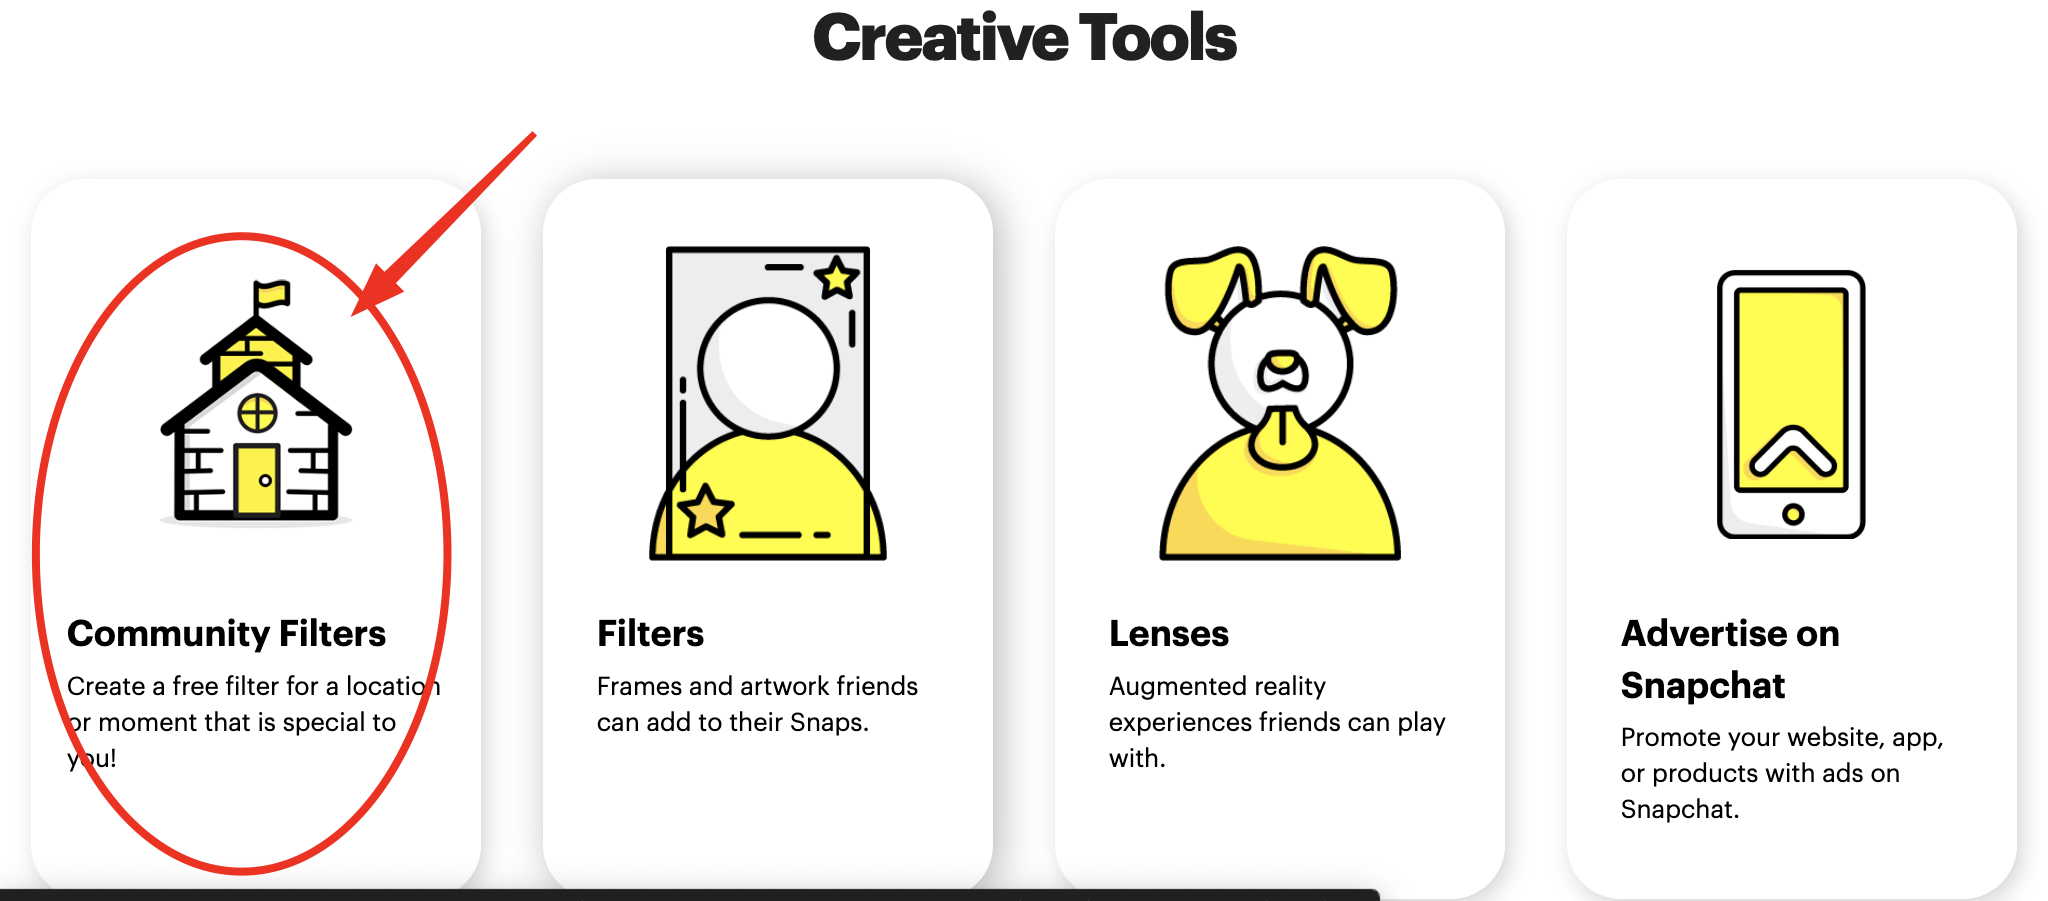
- Access the Geofilter Creation Page: Once on the Snapchat geofilter homepage, click “Learn More” under the filters section. This action will direct you to all the available creative tools.

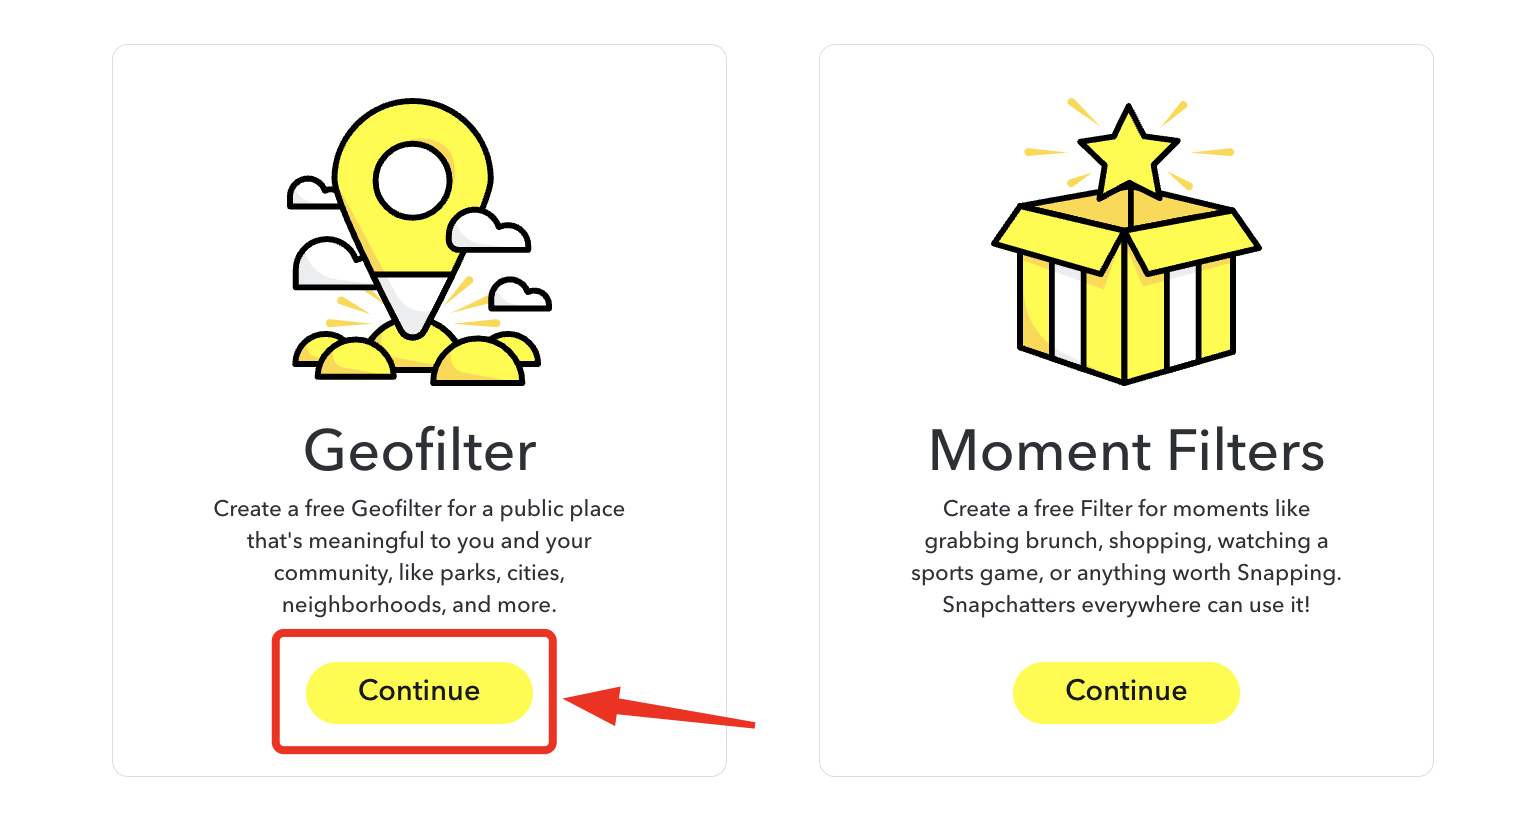
- Select Community Filters: Next, you’ve to select the community filter option, which will take you to two other options – Geofilter and Moment Filters.

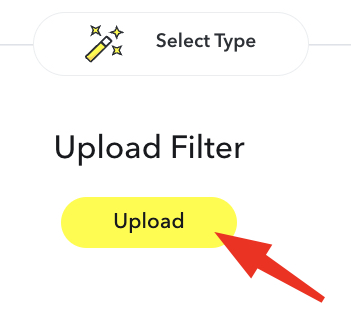
- Choose Your Design: After selecting the geofilter option, you can use your design by clicking “Upload Filter.” A dialogue box will appear, prompting you to select your pre-designed Geofilter file. Choose the file you wish to upload and click “Choose.”

- Configure Your Filter: After uploading your design, you’ll be prompted to give your filter a name. Following this, set the start and end dates and times for your filter’s availability. Remember that the duration of your event can influence the cost of the service, with longer events potentially incurring higher fees.
- Specify Location and Pricing: The next step involves choosing the geographic area where your filter will be active. This is where you draw a geofence around the intended location. The size and location of your event will also play a role in determining the overall cost.
- Submit Contact Information: Fill in your contact information. This is a crucial step, as Snapchat may need to contact you regarding your filter.
- Review and Submit: Before submitting your Geofilter, ensure all details are accurate and complete. Once you’re satisfied, submit your Geofilter for Snapchat’s review.
Following these steps, you can create a custom Snapchat Geofilter for your event, adding a unique and personalized touch that guests can enjoy and share on Snapchat.
How to Use Geofilters for Business and Personal Events
If you’re running a business or personal event, here’s how you can use Geofilters –
- Design Your Geofilter: You can design a geofilter on Snapchat’s website or use a third-party design tool. The design must be a PNG file that is 1080 pixels wide by 1920 pixels tall, under 300 KB and has a transparent background. You can add text, graphics, or illustrations to your design. For business events, include your logo and brand colors. You can add the event’s name, date, and location for personal events.
- Set the Date and Duration: Choose the date and duration for your geofilter. Snapchat allows you to set your geofilter active for up to 180 days.
- Set the Location: Use the map on the Snapchat website to draw a “geofence” around the area where you want your geofilter to be active. The minimum area is 20,000 square feet, and the maximum is 50 million square feet.
- Submit for Approval: After you’ve designed your geofilter, set the date and duration, and chosen the location, you must submit your geofilter for approval. Snapchat usually reviews submissions within one business day.
- Pay and Activate: If your geofilter is approved, you must pay for it. The cost depends on the geofence’s duration, location, and size. Once you’ve paid, your geofilter will be active during the dates and times you specified.
- Promote Your Event: Share the geofilter with your attendees and encourage them to use it in their Snapchat posts. This can help increase the visibility of your event and your brand.
Tracking GeoFilter Performance
Once your Geofilter is live, you can track the number of times the filter has been used and the number of views it has received. Here’s how you can do this –
- View Your Filter’s Statistics: In the Snapchat app, go to your profile, tap the gear icon to access your settings, then tap “Manage” under “Additional Services.” You can select “My Filters” from here to see the geofilters you’ve created. Tap on the geofilter you want to check, and you’ll be able to see its statistics.
- Check Your Filter’s Usage: The statistics will show the total number of times your geofilter has been used. This includes the number of times it has been applied to Snaps and the number of times it has been viewed.
- Track Your Filter’s Performance Over Time: You can track the performance of your geofilter over time. This can help you understand how popular your geofilter is and how effective it is at promoting your event or business.
So, that’s how you create and track your Geofilter’s performance. To get better value out of your Geofilter, you should actively promote it on Snapchat and, if possible, you should run A/B testing.
If you found this post to be helpful, do check


