
If you’re into playing Minecraft with mods, there’s nothing quite like setting up a system that runs itself. Today, we’re going to look at one of the most important parts of surviving in the game: growing crops.
We’ll show you how to make a super-efficient farm that works on Automation using the Oritech mod. This setup isn’t just really good at what it does – it’s also easy to change.
You can use it to grow any kind of crop you want without having to do much work after it’s up and running.
So, are you ready to take your farming to the next level? Here’s how you can proceed with automated farming in Minecraft:
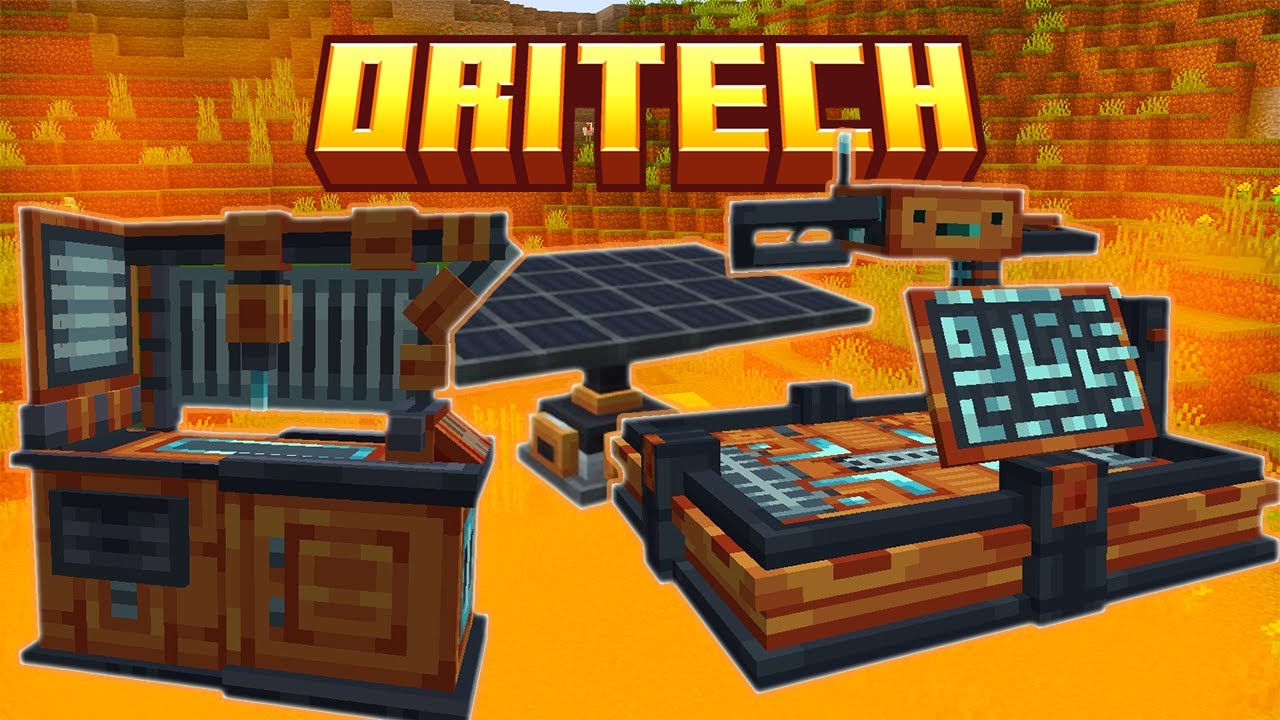
Oritech Crop Farming Introduction

The Oritech mod takes Minecraft to a whole new level when it comes automating your tasks. It lets you build complex systems that can do everything from gathering stuff to processing it.
The crop farm we’re going to make today shows off what this mod can do. It uses several special blocks to create a farm that keeps itself going with very little help from you once it’s set up.
This farm design works for any crop in the game. Whether you want to grow lots of wheat, potatoes, carrots, or any other crop you can plant, this setup will do the job. It’s good to know that while we’re focusing on crops here, you can use similar ideas to make a tree farm too, with a few changes.
2. Important Components
Before we begin, let’s review the key components we’ll use in this build:
- Destroyer Block: This is the heart of our harvesting system. It breaks fully grown crops automatically.
- Machine Frames: These form the structure of our farm and allow multiple machines to work together.
- Crop Filter Add-on: This ensures only mature crops are harvested.
- Water Pump: Provides a constant water supply for crop hydration.
- Fertilizer Block: Keeps the soil hydrated and can apply bone meal for faster growth.
- Placer Block: Automatically replants crops after harvesting.
- Item Pipes: Transport items between different parts of the system.
- Energy Pipes: Provide power to the various machines.
- Chests: Store inputs (seeds, bone meal) and outputs (harvested crops).
- Item Filters: Ensure the right items go to the right places.
3. Setting Up the Base Structure

We start by placing a Destroyer Block. This block will be responsible for harvesting our crops. Right-click on it repeatedly until you see a message about adding an empty rectangular frame. This is where the Machine Frames come into play.
Create a rectangle of Machine Frames behind the Destroyer Block. The maximum size allowed is 64×64, but for this tutorial, we’ll keep it smaller. Remember, the Destroyer Block should not be at the end of your frame structure; it needs to be integrated into it.
Once your frame is set up, add a Crop Filter Add-on to the Destroyer Block. This ensures that only fully grown crops are harvested, leaving immature ones to continue growing. The add-on can be placed on any of the blue plugs on the Destroyer Block.
4. Power and Output
The Destroyer Block needs power to function. Connect it to your power network using Energy Pipes. If you’re using the Oryitech mod, you can use its energy system, or you can use power from other mods if they’re compatible.
The Destroyer Block has four slots for output. This is where your harvested crops will go. You can connect these directly to storage or item transport systems as needed.
5. Preparing the Soil
Once powered, the Destroyer Block will start breaking the blocks beneath the frame structure. This clears the area for your farm. However, you’ll need to manually hoe the exposed dirt to create farmland. This is one of the few manual steps in the process.
6. Water and Fertilization System
Next, we set up the watering and fertilization system. Place a Water Pump near your farm (it can be on the frame structure). If you’re using Oritech, you’ll need to provide it with a water source and power it.
Connect the Water Pump to a Fertilizer Block using Fluid Pipes. The Fertilizer Block should be placed on your frame structure. It will need power as well, so connect it to your energy network.
The Fertilizer Block serves two purposes: it keeps your soil hydrated and can apply bone meal to speed up crop growth. If you want to use bone meal, you can connect a chest to the Fertilizer Block using Item Pipes, and fill the chest with bone meal.
7. Crop Planting System
Now we need a way to plant our crops automatically. This is where the Placer Block comes in. Place it on your frame structure and power it like the other blocks.
Fill the Placer Block with seeds of your chosen crop. It will automatically plant these seeds in the prepared farmland.
8. Automating the Cycle
To make the farm truly self-sustaining, we need to ensure that harvested crops and seeds are properly sorted and recycled.
Place a chest near your Destroyer Block. Use Item Pipes to connect the output slots of the Destroyer Block to this chest. This is where your harvested crops will be stored.
Next, use an Item Filter on the chest to separate seeds from the final product. Connect this filter to your Placer Block using Item Pipes. This will ensure that seeds are automatically returned to the planting system.
9. Troubleshooting and Optimization
You may encounter a few issues when setting up this system. For example, some dirt blocks might revert from farmland if the Fertilizer Block doesn’t reach them quickly enough. If this happens, simply re-hoe these blocks manually.
If you find that your farm isn’t operating as quickly as you’d like, there are a few ways to optimize it:
- Add Speed Add-ons to your machines.
- Increase the size of your farm by expanding the frame structure.
- Add additional Fertilizer Blocks or Placer Blocks to cover a larger area more quickly.
10. Adapting for Different Crops

This basic setup works for most crops in Minecraft. However, you may need to make some adjustments for specific plants.
For example, if you’re farming potatoes or carrots, you’ll need to adjust your Item Filters accordingly.
11. Tree Farming Considerations
While this setup works beautifully for crops, tree farming requires a slightly different approach. The Destroyer Block only breaks the block immediately below it, which isn’t sufficient for trees.
For tree farming, you might want to look into specialized tree-cutting blocks or create a modified setup with a smaller frame and a dedicated tree-cutting block positioned in front of it.
12. Power Considerations
Throughout this tutorial, we’ve mentioned powering the various blocks. It’s crucial to ensure that all components of your farm have a stable power supply.
Depending on the size of your farm and the other systems you have running, you might need to upgrade your power generation to keep everything running smoothly.
13. Scaling Up
One of the beautiful aspects of this Oritech farming system is its scalability. Once you understand the basic principles, you can easily expand your farm to industrial proportions.
You could create separate systems for different crops, or one massive farm with multiple Destroyer and Placer Blocks working in tandem.
Remember, you can add as many machines to your frame as you like. So if you find that one Fertilizer Block isn’t keeping up with a large farm, simply add more. The same goes for Placer Blocks, Destroyer Blocks, and any other components.
14. Integration with Other Systems
While this farm is impressive on its own, its true potential shines when integrated with other automated systems. Consider how you could connect this to:
- Automatic crafting systems to process your crops
- Storage systems to efficiently store and retrieve your harvest
- Item transport systems to move your crops where they’re needed
- Other farms or production lines that might use your crops as input
15. Maintenance and Monitoring
Once set up, this farm requires very little maintenance. However, it’s still a good idea to check on it periodically. Keep an eye on your power supply, ensure your bone meal (if you’re using it) doesn’t run out, and occasionally check that all blocks are functioning correctly.
You might also want to set up some form of monitoring system. Oritech and many other tech mods offer ways to check machine status, item counts, and other useful information remotely.
Concluding Lines
Getting good at making farms that work on Automation with Oritech opens up a lot of new things you can do in Minecraft. The farm we talked about today is just the start. As you learn more about the mod and what it can do, you’ll find many ways to make your farms even better and bigger.
Remember, the best way to get good at this stuff is to try new things. Don’t be scared to set things up differently, use other mods too, or try to make other parts of your Minecraft world work on their own.
Whether you’re growing food for a small base or a huge factory, this Oritech crop farm is a great place to start for all your farming needs.


