Path of Exile 2 is a game full of strategic choices. Players are already busy finding the best and easiest ways to use its new systems.
For those who want the game to fight for them, the Totem Slam Warrior is our top pick.
This build uses a simple idea: the more your attacks happen on their own, the less you have to click or aim. You can just relax and watch your totems cover the battlefield in fire and explosions.
This guide will explain how this totem build works, what it’s good at, and how to grow it from the start of the game all the way to the end.
If you want a build where you focus on moving, staying alive, and planning while your totems destroy everything, this is for you.

Why Totems? Let the Game Play for You
Totems have always been the easy choice in Path of Exile. You place them, and they do the work, either by casting spells or attacking. In Path of Exile 2, the teamwork for “Slam” builds is even better.
Warrior types, which used to feel slow, are now among the best for automatic damage.
Here’s the philosophy:
More is More.
Instead of attacking yourself, you build your strategy around placing many totems.
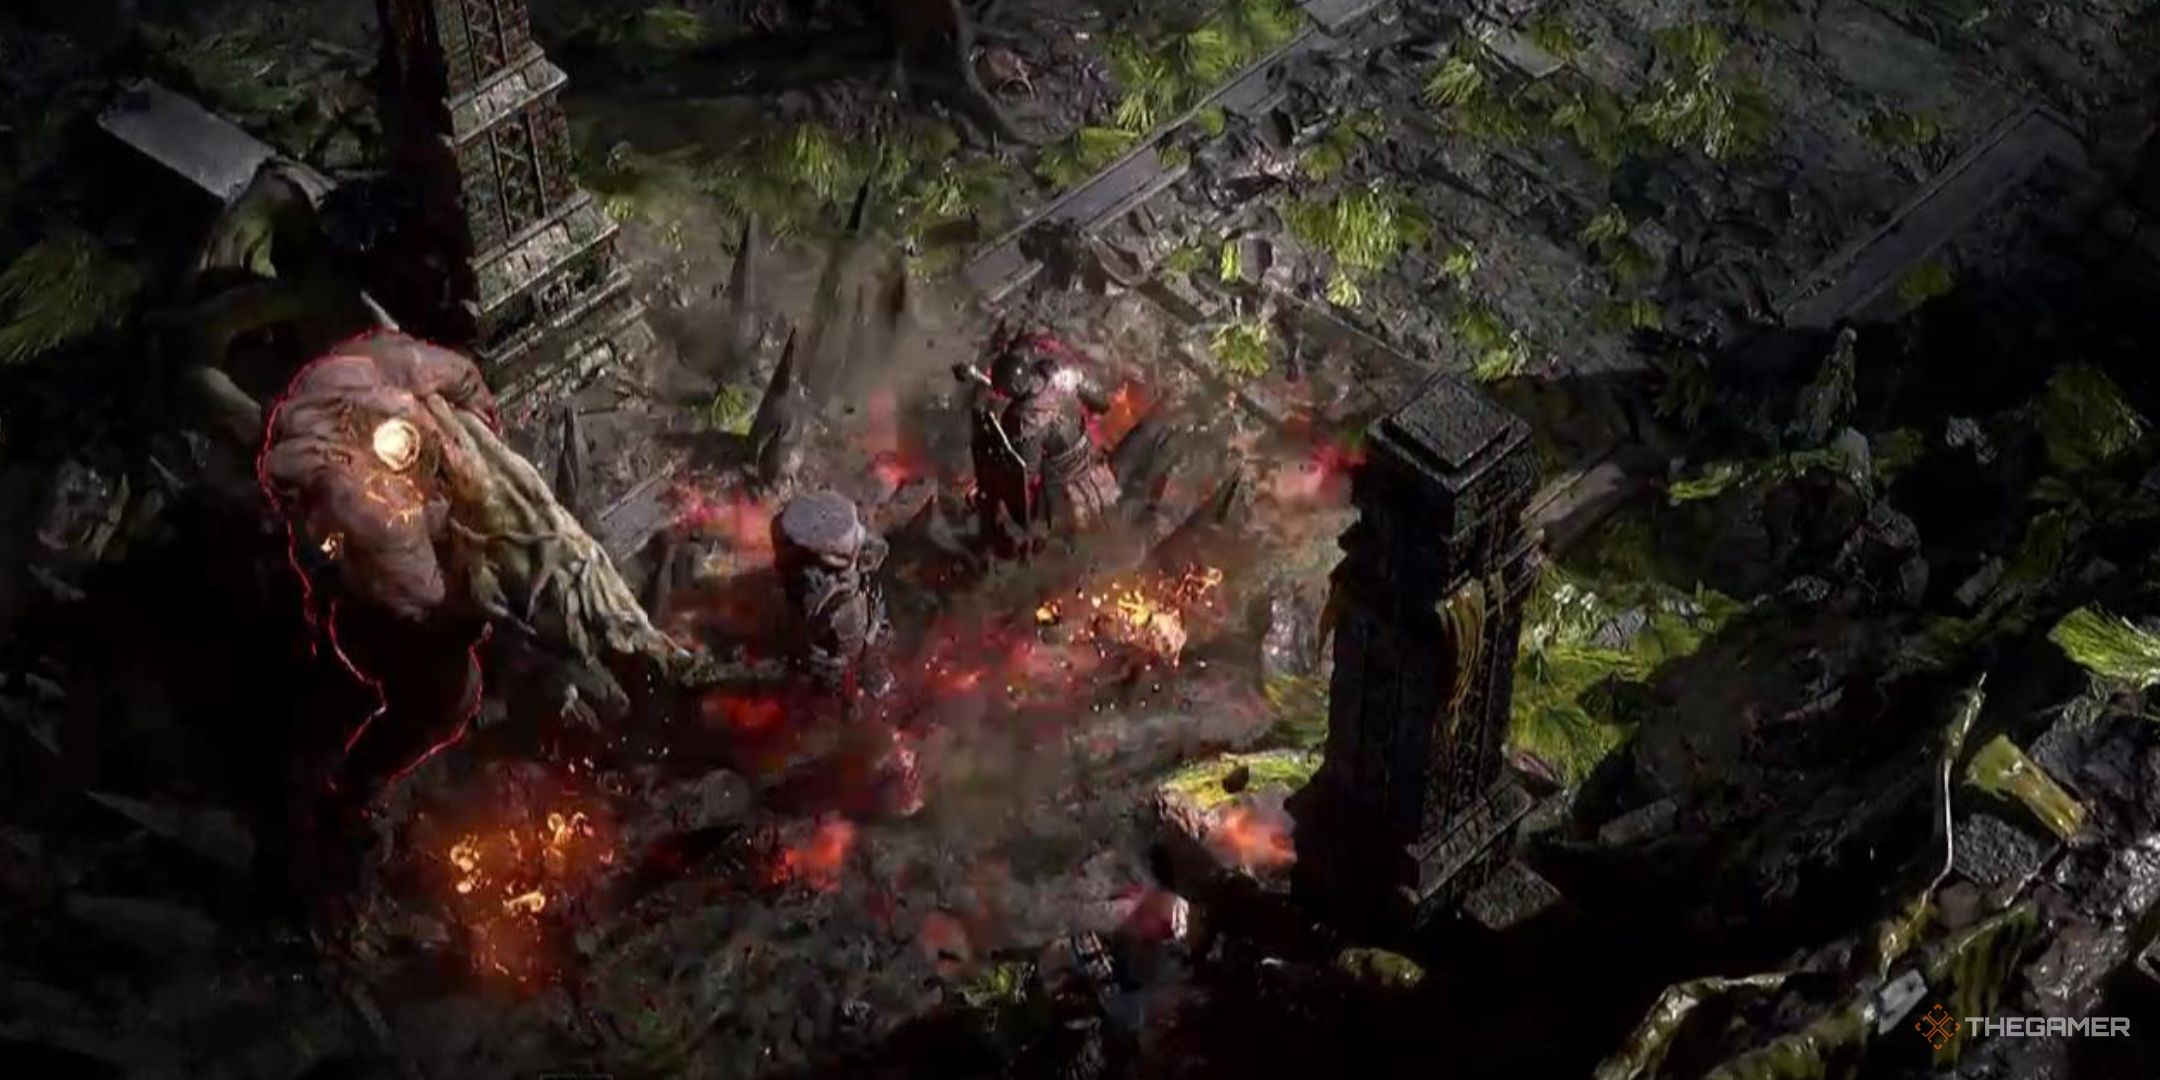
Their attacks and ground effects stack on top of each other, creating huge explosions that kill bosses and groups of enemies without you needing fast reflexes.
The Components: Skills, Gems, and Synergies
1. Shockwave Totem
This is the most important skill. It might not look strong at first, but its real power comes from how it works with other things:
- Shockwave Totems slam the ground, triggering Jagged Ground explosions.
- The damage of the explosions vastly exceeds the totem’s base attack.
- Totems can trigger other skills and ground effects, multiplying damage.
By level 22, you can have three totems out at once, tripling your damage while you stay safe and mobile.
2. Earthquake
Earthquake creates patches of Jagged Ground that explode after a delay. When used with totems, these explosions happen much more often and deal more damage.
Workflow:
Use Earthquake to make Jagged Ground.
Place a Shockwave Totem on it.
The totem’s slam will set off the explosion right away.
You can have two Earthquake zones at once for double the explosions, all made stronger by your three totems.
3. Volcanic Fissure
Later on, you will use Volcanic Fissure instead of Earthquake to clear groups of enemies. It sends out lines of fire that create cracks in the ground, which your totems can then trigger.
- Supported by gems like Elemental Armament (converts damage into fire).
- Branching Fissures multiply the number of explosions per cast.
- Fissures synergize with other slam and ground-effect bonuses.
4. Forge Hammer
This is your main skill for difficult boss fights. It’s not great for crowds, but it’s very powerful against single targets.
- The initial hit deals heavy area damage.
- The effect lasts 8 to 10 seconds with appropriate support gems.
- Combine with totems for huge burst phases in boss encounters.
5. Support Gems and Buffs
- Rage Support: Increases attack damage, synergized by earning rage via attacks and cries.
- Infernal Cry / Herald of Ash / Raging Cry: These cries not only boost damage but automate rage generation for the build.
- Prolonged Duration: Extends the uptime of ground effects and hammer explosions for maximum overlap.
- Encroaching Ground: Grows the area of effect over time.
- Brutality / Elemental Damage: Swap these as your gear improves, favoring elemental scaling as you convert to fire.
Early Progression: The Warrior’s Start
You start as a basic Warrior, using Rolling Slam and Bone Shatter. Your first goal is to use support gems that make you attack faster, so you can slam more often and create shockwaves.
- Rolling Slam + Rapid Attacks
- Quick mob clearing.
- Pairs well with Rage Gem for a swift damage boost.
- Bone Shatter + Impact Shockwave Support
- Early boss and elite trash clear.
After you beat the Rested King and get better gems, replace your Shield Charge with Shockwave Totem. At first, its damage number looks low, but its real job is to stun enemies and set off the Jagged Ground for huge combo damage.
Switch to a Totem Build

Unlocking Ancestral Artifice
At level 22, you get the Ancestral Artifice node on your skill tree. This lets you have three totems out at once. This is the moment the build changes from you doing the work to the totems doing everything for you.
- Shockwave Totem + Earthquake
- Shockwave Totem + Volcanic Fissure
Your new job is to be a conductor. You set off the symphony of slams and explosions without having to stand still or put yourself in danger.
Passive Tree: Pathing for Power and Survivability
Here’s the progression:
- Boost Melee Damage:
- Increases all slam damage (Totems, Earthquake, Fissure).
- Dexterity and Intelligence:
- For support gems like Marshall Tempo (attack speed) and Magnified Effect (area).
- Life Cost and Skill Speed:
- Ensures you can afford frequent casting; converts mana cost to life when necessary.
- Totem Nodes:
- Rush Ancestral Artifice for +1 totem.
- Watchtower cluster: Damage taken recouped as life by totems, applying increased damage debuffs to enemies.
- Bonus Attack Speed: Increases both clear speed and totem placement.
- Allies in Presence: Grants more damage to you and your totems.
Your skill tree will focus on making your totems hit harder, attack faster, and survive longer, while also keeping you safe.
Early on, mix armor and health regeneration for defense. Nodes like Wooden Wall are good because they make enemies attack your totems instead of you.
Gear Priorities: Maximum Damage = Maximum Automation
The basic gear rule:
Focus on Your Weapon’s Damage
Getting bonuses to your melee skill levels is nice, but it’s not as important as having a high-damage weapon. This is because all your totem damage is based on your weapon’s damage.
Useful affixes:
- % Increased Elemental Damage with Attacks (synergizes with fire conversion)
- Levels to Melee Skills (if available)
- Life Regeneration (found on belts, amulets)
- Armor
Change your gear often as you level up, but always try to use the highest damage weapon you can find. This makes every part of your automated build stronger.
Skill Rotation: Simple, Reliable, Lethal
The sequence is surprisingly straightforward given the sheer fireworks on the screen.
Trash Packs:
- Shockwave Totem -> Fissure -> Totem -> Fissure (repeat)
Boss Fights:
- Forge Hammer (into the boss)
- Triple Totems
- War Cry (for rage)
- Fissure spam
- Earthquake spam (if needed)
You usually won’t need to place all three totems unless it’s a tough boss or a huge pack of strong enemies. The damage is so high that most enemies just disappear.
One of the best things about this build is that it’s easy to play. You don’t need to be precise. You can map your skills to keys like Q, W, E, R, and your mouse buttons. Placing a totem takes less than a second. Just let your totems handle the aiming and the killing.
Endgame Scaling: Why More Is More
What sets this build apart in the late game is scaling:
- Weapon Damage Multiplies Across Skills
Every gain is tripled or quadrupled as totems, earthquakes, and fissures all benefit. - Area Overlap
Shockwave Totems and Earthquakes trigger multiple simultaneous ground effects—every enemy is hit by multiple sources. - Fire Conversion and Penetration
Pathing toward fire penetration nodes, elemental conversion gems, and support synergy further amplifies damage. - Aftershocks
With Split the Earth and branching fissures, you can create bonus aftershocks with every slam, proccing more explosions and overlapped damage.
Expect your screen to be filled with fire, explosions, and shattered terrain. You’ll find yourself torching not just enemies, but—pleasantly—the FPS counter.
Defensive Layering: Staying Alive While AFK-Slaying
Defense is crucial since you’ll be swarmed as enemies rush toward your totems and ground effects.
Recommended strategies:
- Life Regeneration:
Stack from gear (amulets, belts) and passive nodes. - Armor:
Invest points for early survivability, especially at campaign act transitions. - Totem Damage Soak:
Wooden Wall node allows 20% of damage taken to be absorbed by totems. - Cleansing and Blessings:
Use the Time of Need spirit skill and compressed duration to frequently clear ailments and recover health.
This allows you to remain mobile, safe, and effective as your totems clear the screen.
Quality of Life: Automation, Convenience, and Fun
The beauty of this archetype is how much it frees the player’s hands and attention. You don’t need mechanical skill or constant precision; instead, you set up your deadly machinery and watch the fun.
- Great for new players and league starters.
- Excellent at scaling into endgame maps and bosses.
- Future-patches will only make it stronger as more nodes unlock (e.g., currently broken Ancestral Spirits).
- Suitable for players who play on lower-end hardware (except for the occasional FPS drop from too many explosions!).
Advanced Tips and Adjustments
- Support Gem Tuning:
Be cautious as rapid assault gems can drop your damage if over-tiered. Keep them at optimal levels (never beyond tier 2 for attack speed). - Fissure Branching:
Use the branch support at tier 3 for maximal screen clearing. - Swap Gear As You Level:
Always favor max damage over extra minion skills; the multiplicative effect outweighs the additive bonuses. - League Start Optimization:
Perform an early rush for the Ancestral Artifice node, then diversify into survivability as needed for harder content. - Totem Placement Speed:
Invest in cast speed and placement speed via gear and passives to spam totems faster and more frequently. - Fire Damage Scaling:
Prioritize fire conversion and penetration; all your damage gets funneled into this element.
The Verdict
If your idea of a perfect build is one where you focus on strategy and movement instead of constant clicking and perfect timing, this Totem Slammer build is for you.
By using the powerful combination of ground effects, totems, and fire damage, you create a playstyle where the action happens on its own. It is constant and destructive.
Let your totems do the dirty work. You can focus on dodging attacks, staying alive, and enjoying the show as your screen fills with fire and glory. The build is only expected to get stronger and more spectacular with future updates.


