What happens when you try to beat one of the hardest games in the world—without dodging, blocking, or wearing any armor?
You get pure chaos, some solid laughs, and maybe one of the biggest surprises in Souls challenge-run history.
After finishing Dark Souls 1 under the same ridiculous rules, I decided it was time to take on Dark Souls 2. The rules were simple, but brutal:
No dodging or backstepping
No blocking with any shield
No armor (meaning you take full damage with zero poise)
Every fight came down to footwork, stamina management, and a lot of deep breathing. What I didn’t expect? Dark Souls 2 might actually be easier than the first game when you play like this.
Let’s walk through how this “impossible” run actually played out.
Starting in Majula
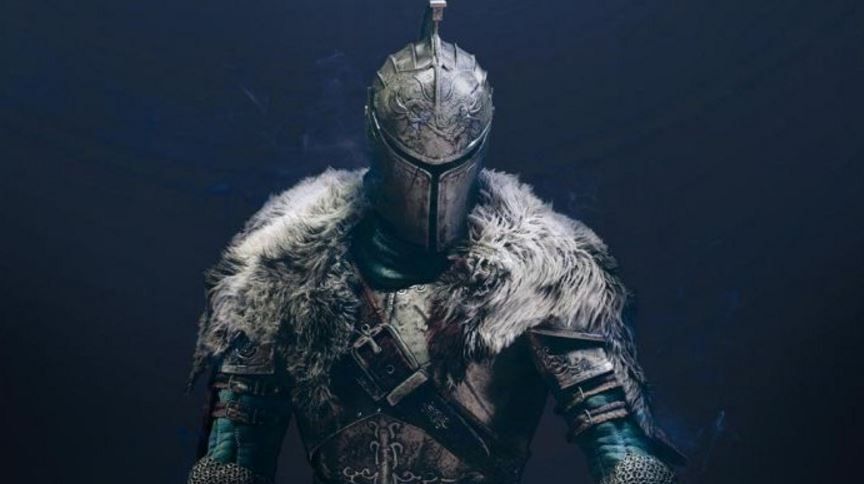
Like every good Souls nightmare, this one started half-naked in Majula. My character—aptly named No Roll Derp—began as a Warrior. I traded a Petrified Something to the crows for the Demon’s Great Hammer, the same weapon that carried me through the DS1 run.
Of course, I couldn’t even use it yet—it needs 25 Strength to two-hand. So my first few levels went straight into raw power. My first “victim”? The Dragonrider, who gracefully fell off his own platform. Thanks, gravity.
With that kill, I finally had the stats to swing the hammer properly. And from there… the bonking began.
The First Real Tests
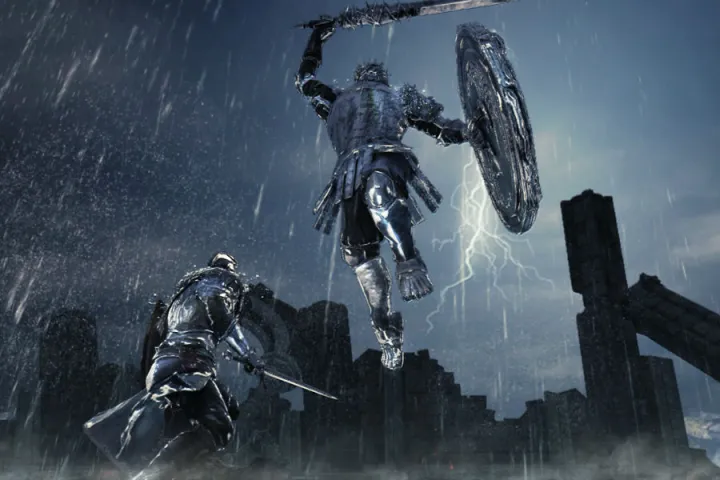
The Forest of Fallen Giants was where the challenge truly hit. You can’t roll through ambushes, so every group of enemies became a real threat. Surprisingly, The Last Giant wasn’t too bad—his slow attacks let me strafe around and punish with heavy hits.
The Pursuer, however, looked terrifying on paper. But a funny thing happened: just walking to the right around his charge attacks worked perfectly. This became a theme—careful movement was often enough to replace rolling entirely.
After upgrading my hammer and boosting my health, even bosses like the Ruin Sentinels fell to patience and good spacing.
Learning to Walk, Not Run
By mid-game, I realized the real threat wasn’t bosses—it was groups of enemies. Fights like the Belfry Gargoyles, where you’re swarmed, became incredibly dangerous since you can’t just retreat. The solution? Spacing. Create distance, bait attacks, and take them down one at a time.
Even aggressive bosses like Old Dragonslayer and the Flexile Sentry fell to the hammer. The key was single, well-timed strikes—overextending meant instant death.
Soon, I was clearing areas like Huntsman’s Copse and No-Man’s Wharf, beating bosses like the Skeleton Lords and Executioner’s Chariot in quick succession. At this point, it felt less like a challenge run and more like a slow-moving wrecking ball.
The Hammer Ascends
Once the Demon’s Great Hammer hit +3, things got ridiculous. Its massive strike damage trivialized anything weak to blunt force—which, in Dark Souls 2, is almost everything. Bosses like the Lost Sinner and the Old Iron King died in under a minute.
My only real setbacks came from crowded areas or environmental hazards. The room before the Pursuer in the Bastille killed me more than any boss—dogs, archers, and no mobility made it a death trap.
I also learned a crucial, janky detail about Dark Souls 2: the “turn delay” when you’re locked on and try to sprint away. It got me killed more than once. The fix? Stop locking on. It made the camera wonky, but it kept me alive.
Smelter Demon: The First True Wall
Everything was going smoothly until I hit the Smelter Demon. This guy hits like a truck, and without a dodge or shield, his multi-hit combos felt impossible at first. Getting trapped against a wall usually meant instant death.
After dozens of tries, I cracked it: it was all about stamina management. Staying close, baiting his jump attacks, and saving enough stamina to sprint out of trouble finally did the trick. Beating him felt punishing, but flattening him with the hammer was worth every death.
The Turning Point: Old Iron King and Beyond
After taking down the Old Iron King in under a minute, I’d beaten two primal bonfires and realized something huge: not dodging wasn’t that big of a disadvantage if your spacing, patience, and health were on point.
From Shaded Woods to Drangleic Castle, the rest of the base game felt straightforward. Bosses like Scorpioness Najka, Looking Glass Knight, and Velstadt showed how walking and positioning could replace i-frames. Even the brutal Throne Watcher & Defender duo fell without a single roll.
Skipping ADP, Defying the System
Halfway through, I noticed I hadn’t leveled Adaptability (ADP)—the stat that controls dodge speed. In a run where dodging was banned, it simply didn’t matter. I put a few points in later just to heal faster, but the lesson was clear: good positioning beats stats every time.
A Walk Through the Abyss — Darklurker Falls
Even the feared Darklurker couldn’t stop the run. I played it safe, circled the arena, and landed heavy hits when I could. The clone phase was tense, but patience and spacing won out. Another boss down, no roll required.
The DLC Gauntlet Begins
Crown of the Sunken King threw me into the deep end. The notorious Gank Squad was easier than expected—the hammer’s “pancake” effect knocked them flat. Elana, the Squalid Queen, famous for summoning Velstadt, fell on the first try through sheer endurance.
Then came Sinh, the Slumbering Dragon. This fight was all about timing: circling during swoops, waiting out poison clouds, and punishing when he dipped his head.
Crown Two: The Tower and the Fume
Next up was Crown of the Old Iron King. Blue Smelter Demon was the next major hurdle—his hits could one-shot me. This fight forced me to use Bright Bugs for a damage and defense boost. With that edge, he went down.
Fume Knight, often called one of the hardest Souls bosses ever, was surprisingly manageable. The trick? Circle to his weaker side to avoid most of his sword swings. He fell in just a few tries—easier than the original Smelter Demon.
Then came Sir Alonne. Expected to be a nightmare, he turned out to be one of the easiest fights. Bait his sliding slash, run the opposite way, then punish. Another “impossible” boss beaten with simple footwork.
Crown Three: Frozen Victory
The final challenge was Crown of the Ivory King. Aava, the King’s Pet, forced careful, angled movement to avoid lunges. Then came the Frigid Outskirts—one of the most hated areas in Souls—featuring reindeer and the double boss Lud and Zallen. Fighting two agile cats without dodging was brutal. It came down to RNG, persistence, and a lucky body-block. Once it was one-on-one, the fight was manageable.
The run ended with the Ivory King himself. Clearing his knights early made the difference, and with a helper knight drawing aggro, the King fell quickly. The final swing closed one of the most unconventional challenge runs ever.
What the Run Proves
When the ashes settled, I came to a simple, astonishing conclusion: ADP doesn’t matter — not really. The stat so often blamed for breaking Dark Souls 2 barely affected the experience at all. Once again, the game proved that patience, observation, and movement trump raw mechanics.
Across 40+ bosses, only a few — notably Throne Watcher & Defender, Blue Smelter Demon, and Twin Kitties — genuinely pushed the limits. Every other boss bowed to the bonk.
The Takeaway
Beating Dark Souls 2 without dodging, blocking, or armor sounds insane, but it revealed how readable and fair most of its bosses really are. This wasn’t just a skill check—it was a redemption arc for one of the series’ most misunderstood games.
Now the only question is: how hard could this be in Bloodborne or Elden Ring?
We’ll find out soon.