Setting up your own media server has gotten a whole lot easier.
I remember when the only way was to run everything on your home PC and guard it with a VPN. These days, using a seedbox is a smoother, more powerful, and more private path.
I’m going to walk you through how to build a fully automated media server in the cloud.
Why a Seedbox Beats the Traditional Methods
Think of a seedbox as a remote computer in a data center, fine-tuned for downloading and managing media. Instead of running apps on your own machine, you’re using a cloud server.
This gives you some major perks: your home computer doesn’t have to be on all the time, your home internet provider can’t see what you’re doing, and you get blazing fast data center speeds.
The traditional method meant installing apps like Radarr, Sonarr, and a torrent client directly on your PC, then constantly worrying about your VPN connection. It works, but it’s messy. VPNs can drop, other proxies are unreliable, and keeping your PC running 24/7 wears it out and runs up your electric bill.
With a seedbox, you leave those headaches behind. You’re basically renting a powerhouse computer elsewhere that does all the work. You just get to enjoy the results from your phone, laptop, or TV.
Essential Components of Your Media Server
Your automated media server consists of several interconnected applications, each serving a specific purpose. Understanding how these pieces work together is crucial before diving into the setup process.
- Prowlarr acts as your indexer manager, searching various sources across the internet for content. Rather than manually visiting torrent sites, Prowlarr automates this discovery process and feeds information to your other applications.
- Radarr manages your movie collection. It monitors your watchlist, automatically searches for new releases, and downloads them according to your quality preferences. Once configured, you simply add movies you want to watch, and Radarr handles everything else.
- Sonarr performs the same function as Radarr but specializes in television series. It tracks show schedules, automatically grabs new episodes when they air, and organizes your TV library with proper naming conventions.
- Deluge (or qBittorrent) serves as your download client. After Prowlarr finds content and Radarr or Sonarr requests it, your torrent client handles the actual downloading process. Deluge comes pre-installed on many seedboxes and integrates seamlessly with the automation stack.
- Plex, Emby, or Jellyfin provides the front-end streaming interface. After your media downloads and organizes automatically, these applications present everything in an attractive, Netflix-like interface accessible from smart TVs, streaming devices, phones, tablets, and web browsers.
Choosing the Right Seedbox Plan
You’ll need the right home for all these apps. While Rapid Seedbox has a basic plan, it won’t run the software we need. For this automated setup, you should start with at least their Streaming Premium plan.
I recommend this tier because it gives you the storage, speed, and—most importantly—the ability to install multiple apps. It’s built for what we’re doing. If you have a bigger household or plan on building a huge library, going Premium from the start is a smart move.
Once you buy it, your box is usually ready in 5-10 minutes. You’ll get a link to watch it being set up, and then you’ll receive your login info for the control panel.
Getting Everything Installed
This is the easiest part. Rapid Seedbox has a one-click install system that saves you from complicated command-line work.
Just go to the applications section in your control panel. You’ll see Prowlarr, Radarr, Sonarr, and Deluge all listed there. Literally click “Install” for each one. The system sets up all the behind-the-scenes details for you. It couldn’t be simpler.
Setting Up Prowlarr
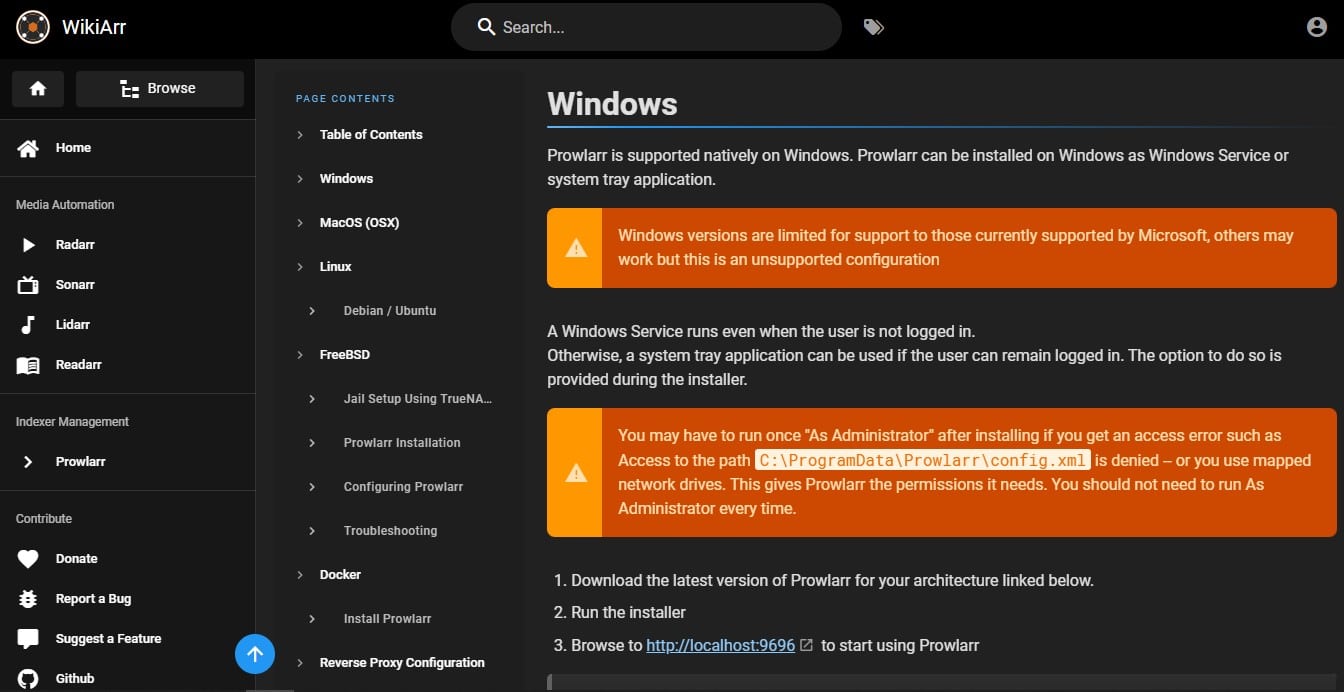
First, log into Prowlarr using the details from your seedbox dashboard. Your first job here is to add indexers. These are the websites Prowlarr will search for you. Head to the indexers section and pick a few popular public torrent sites from the list.
It’s a good idea to test each one after adding it. Most will work right away. Adding several just means you’ll have a better chance of finding whatever you’re looking for.
Now for the crucial link: you need to connect Prowlarr to Radarr and Sonarr. Go to Settings > Apps and add them both. You’ll need the API key from each app (you can find this in their own settings menus) and your server address from the seedbox dashboard.
The address is usually your seedbox IP followed by a colon and the app’s port number (like 123.45.67.89:7878). Test the connection to make sure they can all talk to each other.
Configuring Radarr and Sonarr
These two apps are set up almost the same way. First, connect each one to your download client, Deluge.
In Radarr/Sonarr, go to Download Clients and add a new client.
Choose Deluge. For the host, use 127.0.0.1. Use the default port (58846) and the Deluge password from your seedbox credentials.
Important: In Deluge’s own preferences, you must enable the Label plugin. This lets Radarr and Sonarr tag their downloads, which keeps your movies and shows organized in separate folders.
Next, we need to set up where your files will live. Using your seedbox’s file manager, create a main folder—call it Media—and inside it, make three folders: Movies, TV Shows, and Downloads.
Now, go back and point your apps to these folders:
In Deluge, set the default download location to your new Downloads folder.
In Radarr, set the root folder to the Movies folder.
In Sonarr, set the root folder to the TV Shows folder.
This structure lets everything move and organize itself automatically when a download finishes.
Setting Up Your Streaming Front-End
I’ll focus on Plex here because it’s the easiest to use and works on almost every device. If you’re very privacy-focused, Jellyfin is a great alternative that doesn’t need an online account.
From your seedbox control panel, look for the Plex claim section. You’ll need to go to plex.tv/claim to get a temporary code, then paste it in your dashboard. This links the server to your Plex account.
Use the one-click menu in your control panel to make sure Plex is updated to the latest version, then reboot your seedbox. This ensures everything runs smoothly.
After the reboot, open Plex. You’ll create two libraries: one for Movies (pointing to your Movies folder) and one for TV Shows (pointing to your TV Shows folder).
Testing Your Setup
Now that everything’s linked up, let’s test it to make sure it all works.
Go into Radarr and search for a movie in the public domain, like “Night of the Living Dead” (it’s free to distribute).
Add the movie, pick your quality—I recommend 1080p—and click Add Movie.
If it’s set up right, here’s what happens next without you lifting a finger:
Prowlarr checks your indexers.
Radarr sends the file to Deluge to download.
Once finished, Radarr moves and renames it for Plex.
In a few minutes, it’ll pop up in your Plex library, ready to watch.
You can follow along in Deluge’s interface to see the progress.
Advanced Customization Options
Watch Your Storage: Movies take up a lot of space, especially in high quality. Set up automatic deletion rules in Radarr/Sonarr to remove stuff you’ve watched, or be ready to upgrade your seedbox plan as your collection grows.
Get Granular with Settings: Use quality profiles in Radarr and Sonarr. You can set rules for file sizes or resolutions—maybe 4K for your favorites and 720p for background shows.
Stay Organized: Use custom tags (like “kids” or “90s shows”) to make filtering in Plex super easy.
Take Your Library Anywhere: Don’t forget to enable remote access in Plex so you can stream your movies and shows when you’re away from home.