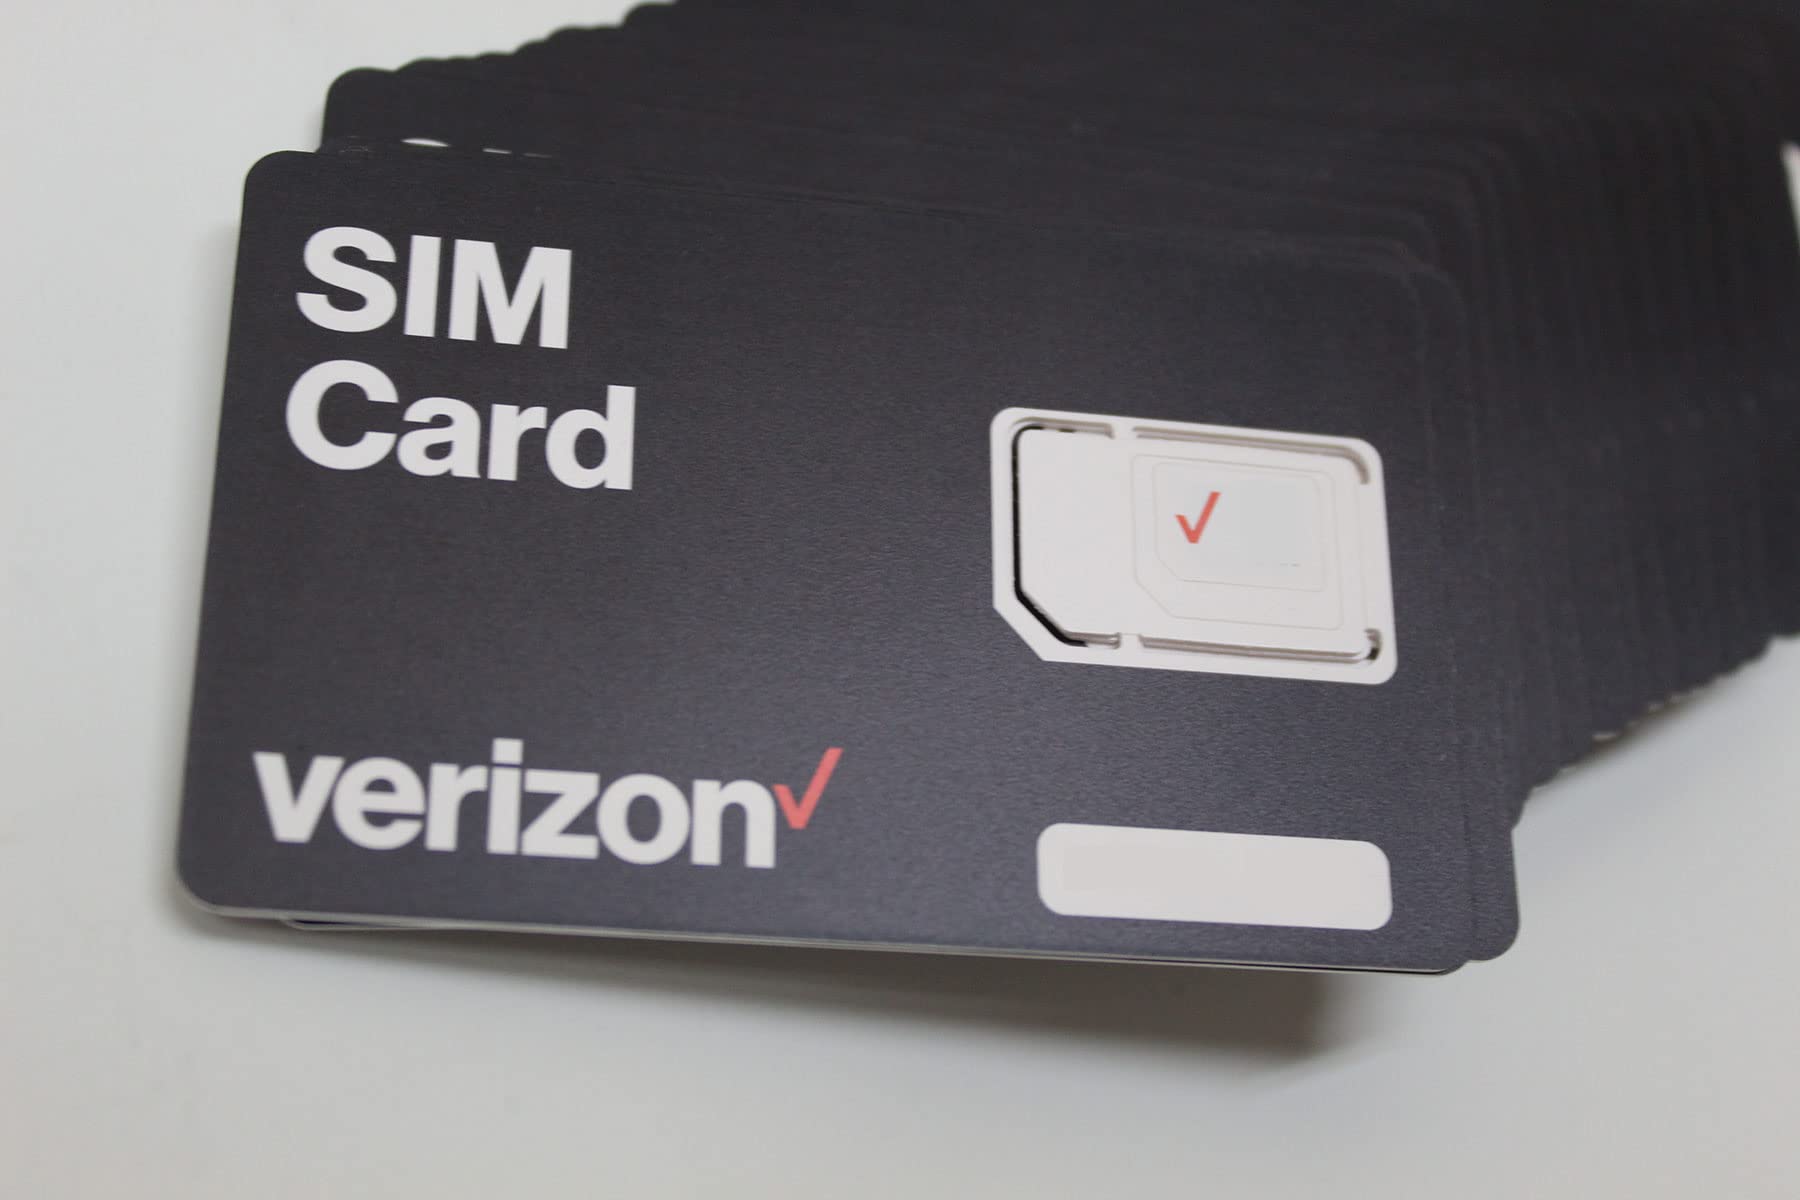
SIM card failure can be a source of frustration for many smartphone users.
If you’re a Verizon customer encountering this issue, don’t push the panic button! I’m here to help identify effective solutions to this problem in an easy step-by-step process.
In this article, I’ll share five quick ways to fix your Verizon SIM card failure and return to enjoying uninterrupted communication.
What is Verizon SIM Failure?

SIM failure is common when your phone cannot connect with the SIM card. The reasons for its occurrence vary, including faulty hardware, software glitches, and poor contact between the SIM card and phone.
SIM failure can obstruct essential phone capabilities such as making and receiving calls, text messages, and mobile data usage if not rectified. Therefore, finding a quick and effective fix is crucial to prevent disruption of your daily tasks.
5 Ways to Fix Verizon SIM Failure

Restart Your Phone
Restarting your phone is the most straightforward troubleshooting step in solving most issues, including SIM card failure. By rebooting your phone, you’re allowing the device to refresh its software, potentially fixing any minor glitches that may cause the problem.
Steps to correctly restart your device –
- Press and hold the power button on your phone.
- Once the power menu pops up, tap “Restart” or “Power off.”
- If you selected “Power off,” wait for about a minute before turning your phone back on by pressing the power button until you see the Verizon logo.
Re-seat the SIM Card
Re-seating the SIM card involves removing it from your phone and inserting it back, ensuring the contacts are firmly in place. This action can resolve issues caused by loose connections or dirt disrupting the communication between your phone and the SIM card.
How can it help fix potential SIM failures?
By re-seating the SIM card, you’re creating a fresh connection with the phone’s hardware, which can sometimes fix the SIM failure issue.
Step-by-step instructions
- Power off your phone.
- Locate the SIM card slot on your Verizon phone and remove the SIM card tray using a SIM eject tool or a small paper clip.
- Take out the SIM card and inspect it for damage or dirt. Clean gently with a soft cloth if necessary.
- Place the SIM card back into the SIM card tray, double-checking its correct orientation.
- Insert the SIM card tray back into the phone and power on the device.
Reset Network Settings
Resetting network settings involves the clearing and restoration of your phone’s cellular and Wi-Fi settings to their default state, which can fix minor bugs causing the SIM failure.
How to reset network settings on various devices
For Android:
- Go to “Settings –> System –> Reset options.”
- Tap “Reset Wi-Fi, mobile & Bluetooth.”
- Confirm the reset by tapping “Reset settings.”
For iOS:
- Go to “Settings –> General –> Reset.”
- Tap “Reset Network Settings.”
- Enter your passcode if prompted, and confirm the action.
Update Phone Software
Regular software updates address security vulnerabilities and performance and stability issues, so ensure your device is updated to the latest version.
Steps to check and install the latest software updates
For Android:
- Go to “Settings –> System –> Advanced –> System update.”
- Check for available updates and tap “Install now,” if any.
For iOS:
- Go to “Settings –> General –> Software Update.”
- Check for available updates and tap “Download and Install,” if any.
Contact Verizon Support or Visit a Verizon Store
If all the suggested methods fail to fix the SIM failure issue, it’s time to consult experts who can diagnose and resolve the problem.
Verizon Support or store representatives can thoroughly inspect your device, firmware, and SIM card to identify possible issues and suggest effective solutions. They can also replace a damaged SIM card if needed.
Conclusion
To recap, we’ve shared five quick ways to fix SIM failure in Verizon phones:
- Restart your phone
- Re-seat the SIM card
- Reset network settings
- Update phone software
- Contact Verizon support or visit a Verizon store
SIM failure can be frustrating, but by trying the solutions outlined in this article, you’ll likely resolve the problem and return to seamless connectivity.


