Have you ever felt completely stuck working with Capcut, especially with tweening?
If that sounds like you, trust me; many more users aren’t very familiar with Capcut compared to video editing tools like Adobe Premiere.
Tweening is all about making animations and transitions look smooth and professional, and it’s pretty crucial if you want your videos to stand out.
But let’s be honest: getting the hang of it can feel like solving a puzzle with all the dopamine kicking in at the right time.
I’ve been there, staring at my screen, frustrated and clueless about what to do next. Searching for answers online didn’t help much either; it’s like everyone’s speaking a different language.
Before I get straight to the solution, here’s a brief explanation of the capcut tweeting problem.

Capcut Tweening Problem Explained with Examples
Tweening in CapCut is a process that involves creating smooth transitions and movements between two keyframes in your video edits.
This technique allows you to animate objects, text, effects, or even entire frames without requiring detailed frame-by-frame manipulation, effectively creating intermediate frames automatically to produce fluid motion.
The term “tweening” itself is derived from “in-between,” indicating the creation of intermediate states.
For example, if you’re creating a video and want a text element to move smoothly across the screen, you can use tweening in CapCut.
You set the starting and ending positions of the text, and CapCut generates the frames in between, creating the illusion of movement.
Another everyday use of tweening in CapCut is adjusting opacity, where an object or text can fade in or out smoothly over time.
Steps I Used to Solve My Tweening Problem in Capcut

1. Prepare Your Animation Asset
- Open Gacha Life and select your character.
- Go to Body, then Other, and turn on Hide.
- Turn off all the body parts you’ll animate (ensure these are hidden).
2. Capture Background and Body Parts
- Use a simple background like pink, green, or blue neon.
- Screenshot your character without the body parts you’ll animate.
- Go back, hide the torso and other static parts, and leave the limb you want to animate visible, then screenshot it.
3. Prepare Head and Hair
- After capturing limbs and torso, focus on the head.
- Click on the head and ensure you are using a neon background.
- Take a screenshot of the head and the back hair separately and crop them to have only the green background.
4. Import Assets to CapCut
- Start a new project in CapCut.
- Select a white background (or any solid color contrasting with your neon background).
- Upload all screenshots to the project.
5. Set Up Overlays
- Add each screenshot as an overlay.
- Crop out any black edges present using the crop tool.
6. Chroma Key Adjustments
- Use the ‘Cutout’ feature followed by ‘Color Chooser’.
- Drag the color picker to the neon color to remove the background.
7. Resize and Position
- Adjust the size of the head and hair to match the body.
- Layout each body part properly to create a coherent image of the body.
8. Animating Using Keyframes
- Start by selecting the first body part you wish to animate.
- Tap the diamond icon next to the undo button to add keyframes at the start and end points of the movement.
- Move or rotate the body part as required, ensuring all movements are aligned with the corresponding keyframes.
9. Adjust and Sync
- Make sure all moving parts like hair match up with the head movements.
- Preview to check the animation and make sure everything moves together correctly.
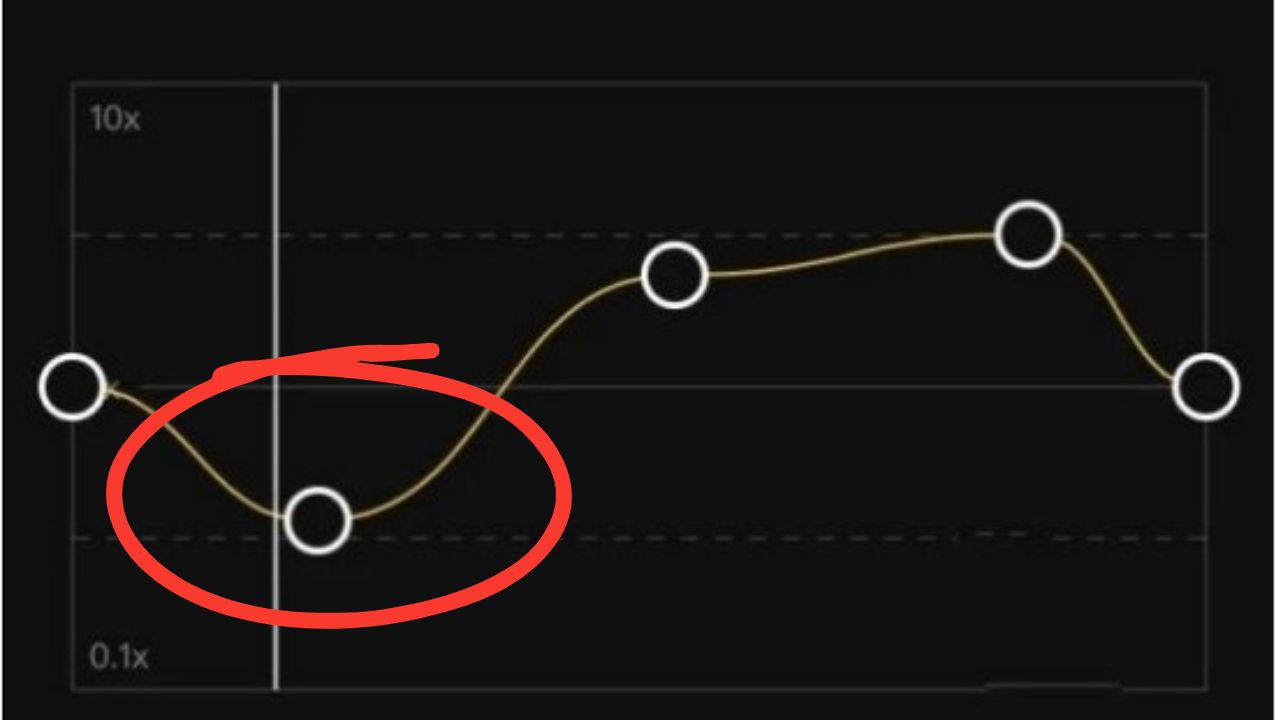
10. Using Graphs for Smooth Animation
Apply graphical adjustments to the keyframes to enhance motion smoothness and realism.
Adjust the graph for every significant angle or keyframe to make the animation more dynamic and fluid.
11. Final Preview and Adjustments
- Play back your animation to review the smoothness and correctness of movements.
- Make any necessary tweaks to ensure everything looks natural and as intended.
Additional Tips:
- Keep all animations lined up by carefully managing keyframes.
- Use the smoothing graph to enhance the fluidity of your animations.
- Preview your work often so adjustments can be made accurately.
If you found these step-by-step instructions helpful, check out this article on how creators use Velocity In CapCut.


