Tweaking your monitor settings can greatly enhance both its performance and picture quality, especially for gaming monitors.
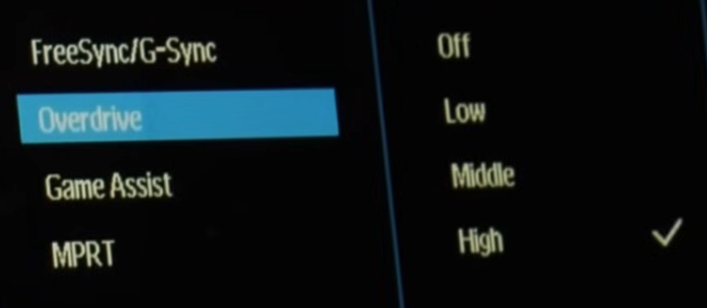
One key setting you can adjust is called “OVERDRIVE.”
Depending on how you set it up, overdrive can either speed up your monitor’s pixel refresh times or provide a more accurate image.
In this article, we’ll explain how to optimize your monitor’s overdrive settings, talk about the differences between various input methods like HDMI and DisplayPort, and give some practical tips for testing and picking the best settings to improve your gameplay experience.
What Are Overdrive Settings?

Most monitors, particularly gaming monitors that aren’t OLED screens, come with different levels of overdrive. Overdrive is a feature designed to improve the monitor’s pixel response times. By adjusting this setting, you can reduce blurring and ghosting in fast-moving games.
You can usually access overdrive settings through the monitor’s menu, which you can navigate using buttons or a small joystick on the monitor itself.
This setting might have different names depending on your monitor’s brand and model.
Choosing the Right Input Method

Before jumping into overdrive settings, it’s crucial to use the best input method for your display. Most modern monitors offer both HDMI and DisplayPort options. These input methods may provide different levels of bandwidth and refresh rates.
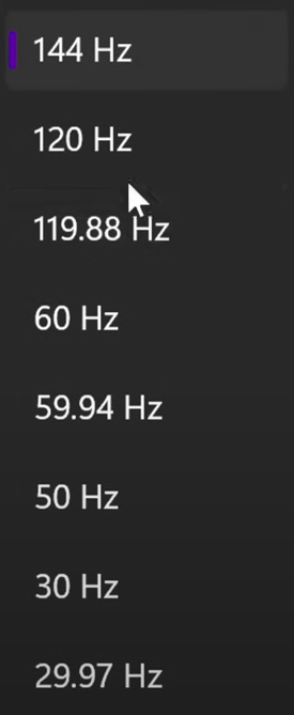
For instance, a 4K monitor capable of 160Hz might only support 144Hz through HDMI, while DisplayPort might allow the full 160Hz. To get the most out of your monitor, you may need to switch to DisplayPort if you’re currently using HDMI.
How to Test Overdrive Settings?
Follow these steps to test and optimize your overdrive settings:
- Start a Familiar Game: Launch a game you know well. Choose a level where you can move around freely.
- Check Current Settings: Move the mouse around and look at the edges of text and buildings to get a feel for the current motion quality.
- Open Monitor Menu: Use the buttons or joystick to open your monitor’s settings menu. Look for the overdrive setting; it might be under a “gaming setup” section or something similar.
- Try Different Levels: Start with overdrive set to ‘off’ and observe the motion quality. You’ll probably notice some ghosting and blurring. Slowly increase the overdrive setting to low, medium, and high, watching for changes in motion quality each time. Higher settings will reduce ghosting but might cause issues like inverse ghosting or color fringing.
- Find the Sweet Spot: If the highest setting causes problems, turn it down a notch. Many users find that the second-highest overdrive setting offers a good balance between reducing ghosting and maintaining image quality
Additional Tips
- Monitor Input Methods: Keep in mind that overdrive settings may vary with different input methods. If you switch from HDMI to DisplayPort, there might be a need to reconfigure the overdrive.
- User Preferences: Overdrive settings can be highly subjective. Some gamers prefer the lowest latency possible, while others may prioritize image clarity. Don’t hesitate to experiment and find what suits you best.
Wrapping Up
Optimizing your monitor’s overdrive settings can significantly improve your gaming experience. By following the steps above, you can achieve a sharper image with less delay, enhancing your overall performance and enjoyment.
Don’t forget to check your input method and adjust the overdrive for the best results.


