Unlike Windows, macOS doesn’t come with a snipping tool out of the box.
So, with no default options, you must rely on third-party apps to take a screenshot.
And going forward in this post, I’ll share my experience with 5 of the following screenshots apps:
- Lightshot
- Monosnap
- Snagit
- Droplr
- CloudApp
And by the end of this post, I’ll also share my full verdict on the best snipping tool for mac. Now, let’s get started:
Lightshot
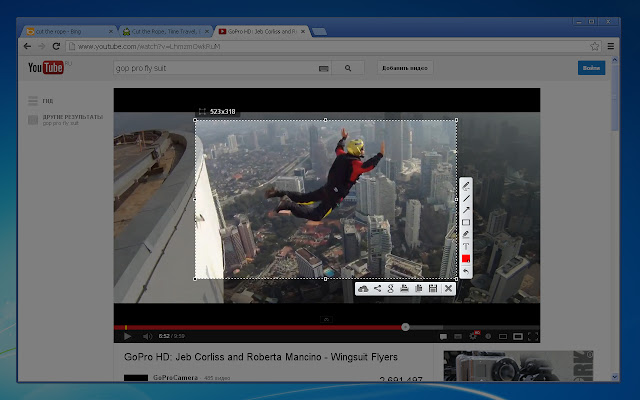
Lightshot is and always will be my favorite preference to take a screenshot.
Before using this app on a Mac, I’ve been using it on Windows and Linux machines.
Out of all 5 screenshot tools mentioned in this post, this is one of the lightweight screen capture tools.
As soon as you install this tool on your PC, it automatically overrides the function of the print screen button.
So after this, whenever you press the print screen button on your keyboard, the lightshot app will do wonders for you.
- After taking the screenshots, you can edit them as per your requirement.
- Add text, colors, shape.
- Highlight certain sections of a Screenshot.
When I was a Windows user, lightshot was the only tool I needed to screen capture.
Even though it fulfills all your basic needs, you can use it to capture, save and upload your screenshot instantly.
Once you have installed this free screenshot app screen capture tool, you would be able to print screenshots, upload images to printscr.com.
Monosnap
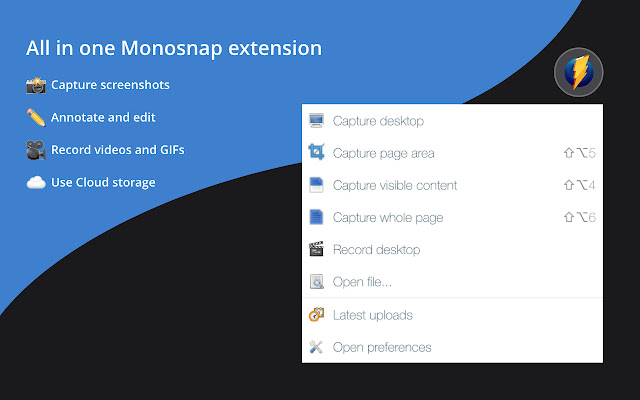
With 4.3 stars ratings in the Apple App Store, Mano snap is one of the most popular Snipping tools for mac.
Manosnap screen capture tool is based on cloud storage and works as a secure content management system and Snipping tool for Mac.
It is supported to use on windows, Chrome.
When taking screenshots, you can use this tool to capture an entire screen of your Mac and further edit it like a pro using its Advanced editing tools.
It’s like using photoshop.
Once everything is done, you can even share your masterpiece with others on social media platforms. Therefore, gaining popularity in the long run.
- Professional editing tools.
- Free cloud storage space.
- Use blur tools to hide private information.
- Customizable hotkeys.
- Create fun videos and animated gifs.
Snagit

Snagit is my third choice on this list.
And the biggest reason for this is its capability to edit and screen record your mac screen at the same time.
If you have decided to install this app, you might face a bit of difficulty in using this app as it comes with too many Advanced features.
When using this tool for 1st time take your cursor to the top of your screen, a small control panel will appear.
You can use the same menu to capture screenshots, modify settings, and customize hotkeys as per your preference.
To edit a captured screenshot. You can use tools like arrows, add blur, and others.
And if you are not satisfied even with these features, you can create animated gifs and videos from the¹ menu available at the top.
Similar to lightshot, Snagit lets you capture your Mac in different ways.
You can select and take a screenshot for a specific part of the screen or capture the entire mac.
Further, if you want, you can upload, import images using scanners and cameras. Therefore making it one of the feature-rich screen capture tools on Mac.
Even though you need to pay at least $50 to unlock most of its tools, I will say it’s worth every penny if you are mainly looking for a screen capture tool for the sole purpose of editing.
Droplr
From top to bottom, I have listed some of the most popular and my favorite screen capture tools.
These are great for personal use, but I will be honest with you. I would not recommend you to use them for business or Enterprise purposes.
This tool comes with features such as Cloud Storage, enterprise-level security, and screen recording at a very low cost.
This tool comes with a monthly or yearly subscription.
And the pricing starts from $6 per month to $85 per year.
In case you want this tool for a team of at least 16 members, you can contact its customer team to get a quote.
This tool is available to use on Mac windows, Chromebook, and Chrome extension.
Cloudapp

If your think Droplr isn’t what you wanted for your business, there’s an alternative for you – Cloudapp.
It’s nice to have multiple options open.
Unlike Droplr, the cloudapp comes with a free version of its app. But with a limited number of features.
You can use this screen capture tool as a screen capture tool and screen recorder.
Further, you can use the Cloud app tool to create a shareable link and share it with your contacts on social media platforms.
Final Words
I’ve used these screen capture tools on Mac, Windows, and Linux.
And everywhere they have worked like a charm.
No complaints, whatsoever.
Before I conclude this post, it’s time for the verdict – Which Screen Capture tool I’m using on Mac?
Without a doubt – It’s lightshot!
Based on your requirement, pick a screen capture tool and you’re good to go.
That’s all for now.
If you’ve got any questions concerning either of these 5 screen capture tools then do let me know in the comments section given below.