

Are you struggling with cursor control, precise movements, or quick navigation on your computer?
Well, finding your mouse DPI could be the trick and help unlock a more efficient and smooth computing experience. In this guide, I’ll take you through the steps to effectively determine your mouse DPI, suitable for beginners and experts. Let’s get started –
What is Mouse DPI?
DPI, or Dots Per Inch, measures a mouse’s sensitivity. In essence, it’s the number of pixels the cursor moves on the screen per inch that the mouse is physically moved. This term is commonly used for printing and scanning.
However, regarding mouse specifications, DPI denotes the precision and sensitivity the mouse provides. A higher DPI leads to a faster and more sensitive cursor, whereas a lower DPI results in a slower and less sensitive cursor movement.
Moreover, the relationship between mouse DPI and cursor movement is crucial for understanding how the cursor behaves with various DPI settings. When you increase the DPI, the cursor travels a greater distance across the screen with the same amount of physical movement. Conversely, as you decrease the DPI, it takes a larger physical movement of the mouse to cover the same distance on screen.
For example, a mouse set to 800 DPI will move the cursor 800 pixels on the screen for every inch the mouse moves. On the other hand, a mouse set to 1600 DPI will move the cursor 1600 pixels for every inch the mouse is moved. In this scenario, the 1600 DPI setting provides a smoother and more responsive cursor movement, allowing for greater precision when navigating the screen or engaging in activities that require meticulous control.
When to Consider Adjusting Mouse DPI?
1. Gaming requirements
PC gaming demands precision, speed, and adaptability, especially in fast-paced genres like First Person Shooters (FPS) and Real-Time Strategy (RTS) games. You may require higher DPI settings for smoother and quicker mouse movements in these scenarios. Conversely, management or turn-based strategy games might require lower DPI settings for more precise clicks.
2. Graphic design and editing needs
Adjusting mouse DPI can be crucial to work efficiency for designers using tools like Photoshop or Illustrator.
Higher DPI settings provide higher cursor speed, which could be ideal for broad strokes when drawing or navigating larger canvases.
Conversely, reduced DPI settings are often more suitable for precision tasks such as detailed photo editing, where delicacy is key.
3. Day-to-day productivity enhancement
Even outside of specialized tasks like gaming or graphic design, adjusting your mouse DPI can help enhance day-to-day computer usage.
For navigating across multiple monitors efficiently, a mouse with higher DPI settings can be beneficial as it allows the cursor to cover more screen real estate with fewer physical movements.
On the contrary, if you’re mostly doing precise tasks like spreadsheet work, a lower DPI setting can help enhance accuracy.
How to Find Your Mouse DPI?
Using Manufacturer’s Specifications
- The mouse’s DPI is often mentioned in the product box, or the included user manual. This is especially true for gaming mice, where DPI is a crucial selling point. Check these materials thoroughly to see if your mouse DPI is listed.
- Check the manufacturer’s website if you can’t find the DPI information in the box or the manual. The product details on their website or support page will likely include the DPI specifications.
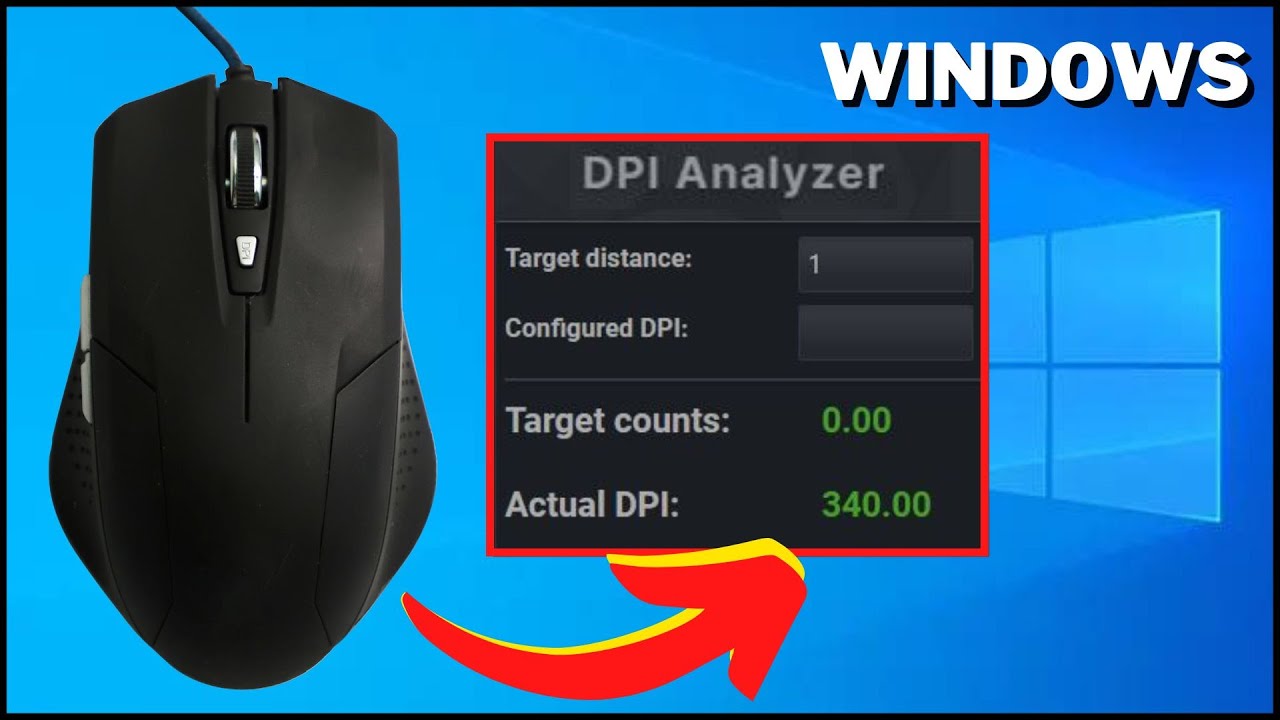
Using Online DPI Analyzers
Online DPI analyzers provide a relatively accurate estimation of your mouse’s DPI. They work by measuring the distance your mouse cursor moves on the screen in response to a specific physical movement of your mouse over your mousepad. The technology behind these analyzers uses the screen resolution and physical distance moved to estimate your mouse DPI.
Step-by-step guide for using an online DPI analyzer:
- Find an online DPI analyzer such as ‘Mouse DPI Calculator’.
- Set your screen resolution on the website – this should match the actual resolution of your monitor (e.g., 1920×1080).
- Mark a starting point on your mousepad. Move your mouse across your mousepad while simultaneously clicking and dragging on the test area on the DPI analyzer’s webpage to record the cursor movement.
- Take note of the physical distance you moved your mouse on your mousepad (use a ruler for accurate measurements).
- Enter the distance of your mouse movement on the DPI analyzer’s webpage.
- The DPI analyzer will then calculate and display the estimated DPI of your mouse.
Using Mouse Settings
1. On Windows
- Click on your Windows operating system’s “Start” button, then choose “Settings”.
- Inside “Settings”, click on “Devices”.
- In the sidebar on the left side, select “Mouse”.
- Click “Additional mouse options” to open the “Mouse Properties” window. Here, you’ll see a pointer options tab.
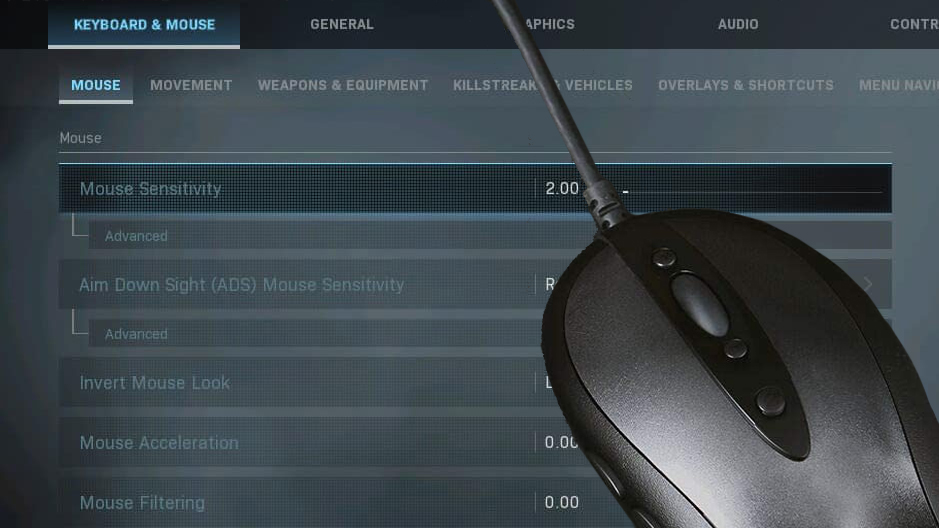
- Under the “Motion” section, you’ll see a slider for “Select a pointer speed”.
- The pointer speed in Windows doesn’t directly correlate to DPI, but it can help estimate the mouse’s sensitivity, which relates to DPI. If the pointer speed is set to the 6/11 mark (the middle), then the DPI reported by the mouse is unchanged. However, note that this doesn’t reveal the exact DPI but allows you to adjust the sensitivity to your liking.
2. On Mac
- Click on the Apple logo located at the top left corner of the Home screen and choose “System Preferences”.
- In the “System Preferences” window, click on “Mouse”.
- Inside the “Mouse” settings, you will see a “Tracking speed” slider. This lets you adjust the speed of your cursor.
- Just like with Windows, changing the tracking speed on a Mac doesn’t directly change the DPI. Instead, it adjusts the cursor’s sensitivity. DPI is hardware-based, so the tracking speed setting in OS X will scale the number of pixels the cursor moves in relation to the physical mouse movement. This doesn’t give you the exact DPI but does allow you to adjust the sensitivity according to your preference.
Please note: The above methods can help you estimate and adjust the cursor sensitivity according to your preferences. They don’t provide the exact DPI values.
Parting Thoughts
Using the steps mentioned in this post, you can adjust your settings to match your productivity, gaming, or design needs and experience the benefits of precise control.
Don’t forget to share this guide with friends, colleagues, or gamers who might benefit from checking their mouse DPI settings. That’s all for now. If you need further guidance, feel free to reach us in the comments below.


