Ever since I’ve started using PC/Laptop, Windows OS is the only one I’ve operated ON.
I started with Windows Vista, going up to Microsoft’s latest Windows 10 OS. Despite the high leap in terms of features, there’s one thing common in each of them.
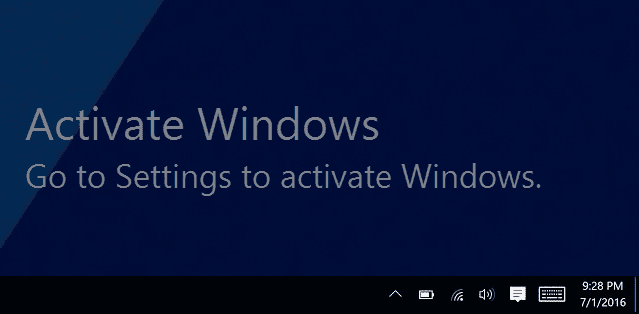
Whenever the installed windows OS isn’t activated with an Original Key, you see a watermark in the bottom right corner of your screen. The watermark with the “Activate Windows, Go to Settings to activate Windows” message looks like this:
Even though this doesn’t affect a normal PC user, a techie like me can’t bear the sight.
It’s outright frustrating (at least for me).

That’s just the beginning. Every change in minor details ruins the overall experience. You can play video games, movies, or whatever you want, the watermark keeps popping on the screen.
And to rule out this watermark issue, you can remove it either temporarily or permanently.
Disable “Activate Windows 10 Watermark” Temporarily
First, let’s get into the method where you can temporarily disable “Activate Windows 10 Watermark” on your PC without actually activating Windows 10. In this temporary fix, we’ll use Windows Registry Editor.
TIP: Before trying any of the methods mentioned in this post, I would recommend you back up your system or the registry settings.
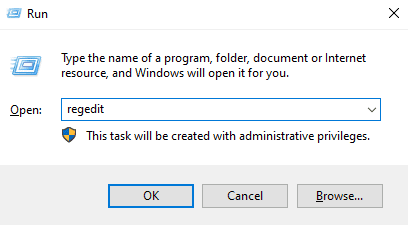
- Press Win + R to open the run dialog box on your PC.
- Type Regedit in the text box & click on the OK button to continue.

Windows Registry Editor - Once the Registry Editor is up and running, head over to an arrow icon next to the name of a folder & expand it. Now, carefully, navigate to this exact location: HKEY_LOCAL_MACHINE → SOFTWARE → Microsoft → WindowsNT → CurrentVersion → SoftwareProtectionPlatform → Activation.
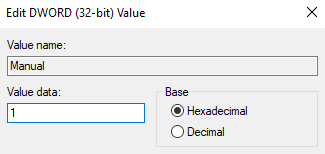
- Double click on it to open the Manual entry.
- Then you’ll see a dialog box just like posted below. Here, change the default value data of 0 to 1. That’s it. Press OK and exit the Registry Editor.

Change value data - Restart your computer to see the changes.
If this temporary fix works, you wouldn’t see the Activate Windows Watermark on your PC. However, as I said before, I’ll repeat it, it’s a temporary solution & within a short time, it’ll be back.
Despite being a temporary fix, you can use this method again & again in a repeat mode. Once the watermark returns, repeat the same 5-6 steps to remove the watermark.
Remove the Activate Windows 10 Watermark Permanently
The temporary method is all good but removing the watermark again & again isn’t worth it. It’s important to get rid of the watermark permanently. And thankfully, there’s a way you remove this.
And the great thing about this method is that you can use it without even activating Windows 10. Now, going ahead in this post, I’ll share a simple notepad trick that’ll surely remove the text from your screen.
Before starting with this trick, make sure you’ve got the admin rights to the PC you’re using as this will request you to get administrative permissions. Now, let’s get started:
- Please search for the Notepad application on your windows PC & open it to proceed with the next step.
- Now carefully, add the following code to the empty notepad file:@echo off
taskkill /F /IM explorer.exe
explorer.exe
exit - Click on File, then select Save as, or else you can hold CTRL + S to save the file at the desired location.
- Rename the text file to remove.bat and then change the File type to All Files. Just like visible in the screenshot posted below:

- Save the file somewhere to the desired location. Preferably, save it on a Desktop or at a location where you can access the file easily.
- Now, head over to the file remove.bat, right-click on it & select Run as administrator to open the file with required administrator access.
- That’s it. A command prompt window will open and close automatically. Once the file closes, restart your computer to apply all the changes.

Change Ease of Access Settings
Lastly, I’ll share a simple trick that can get rid of the Windows 10 watermark for you. This trick involves disabling background images with Ease of Access. Follow these steps to remove this watermark that comes with Windows 10 or the previous version.
- First, press the Windows + S keys to search the control panel.
- Once the Control panel is open, click on the Ease of Access Center just as shown in the screenshot attached below:

Remove Activate Windows Watermark P.S. Make sure the view mode is set to Large icons otherwise you won’t see Ease of Access Center in the menu.
- Next, click on the Make the computer easier to see link under the Explore all settings section.
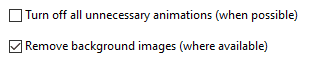
- Scroll down until you see Remove background images (where available) and place a checkmark in the box to enable the feature.

- Click Apply and enjoy your watermark-free desktop.
Final Words
If you can buy a genuine copy of windows 10, then this post isn’t for you. These tricks to remove activate windows watermark are only for those who can’t afford it.
And I hope this post was helpful enough to remove this watermark for you. If you’re facing any problem in following any of the tricks, then do let me about it in the comments section given below.